


How to Clean Your Home After Renovation or Construction
A GoCleanCo Guide
Renovating? Exciting—but oh, so dusty.
We’ll walk you through how to get your space sparkling clean after construction, so you can actually enjoy all that hard work.
If you haven’t started construction yet, make life easier for yourself and prep your home to make cleaning after the reno easier. Check out this article for our top preparation tips.
If you have the budget, you can hire a company that specializes in post-construction cleaning, but if you want to save some cash, you can do most of it yourself!
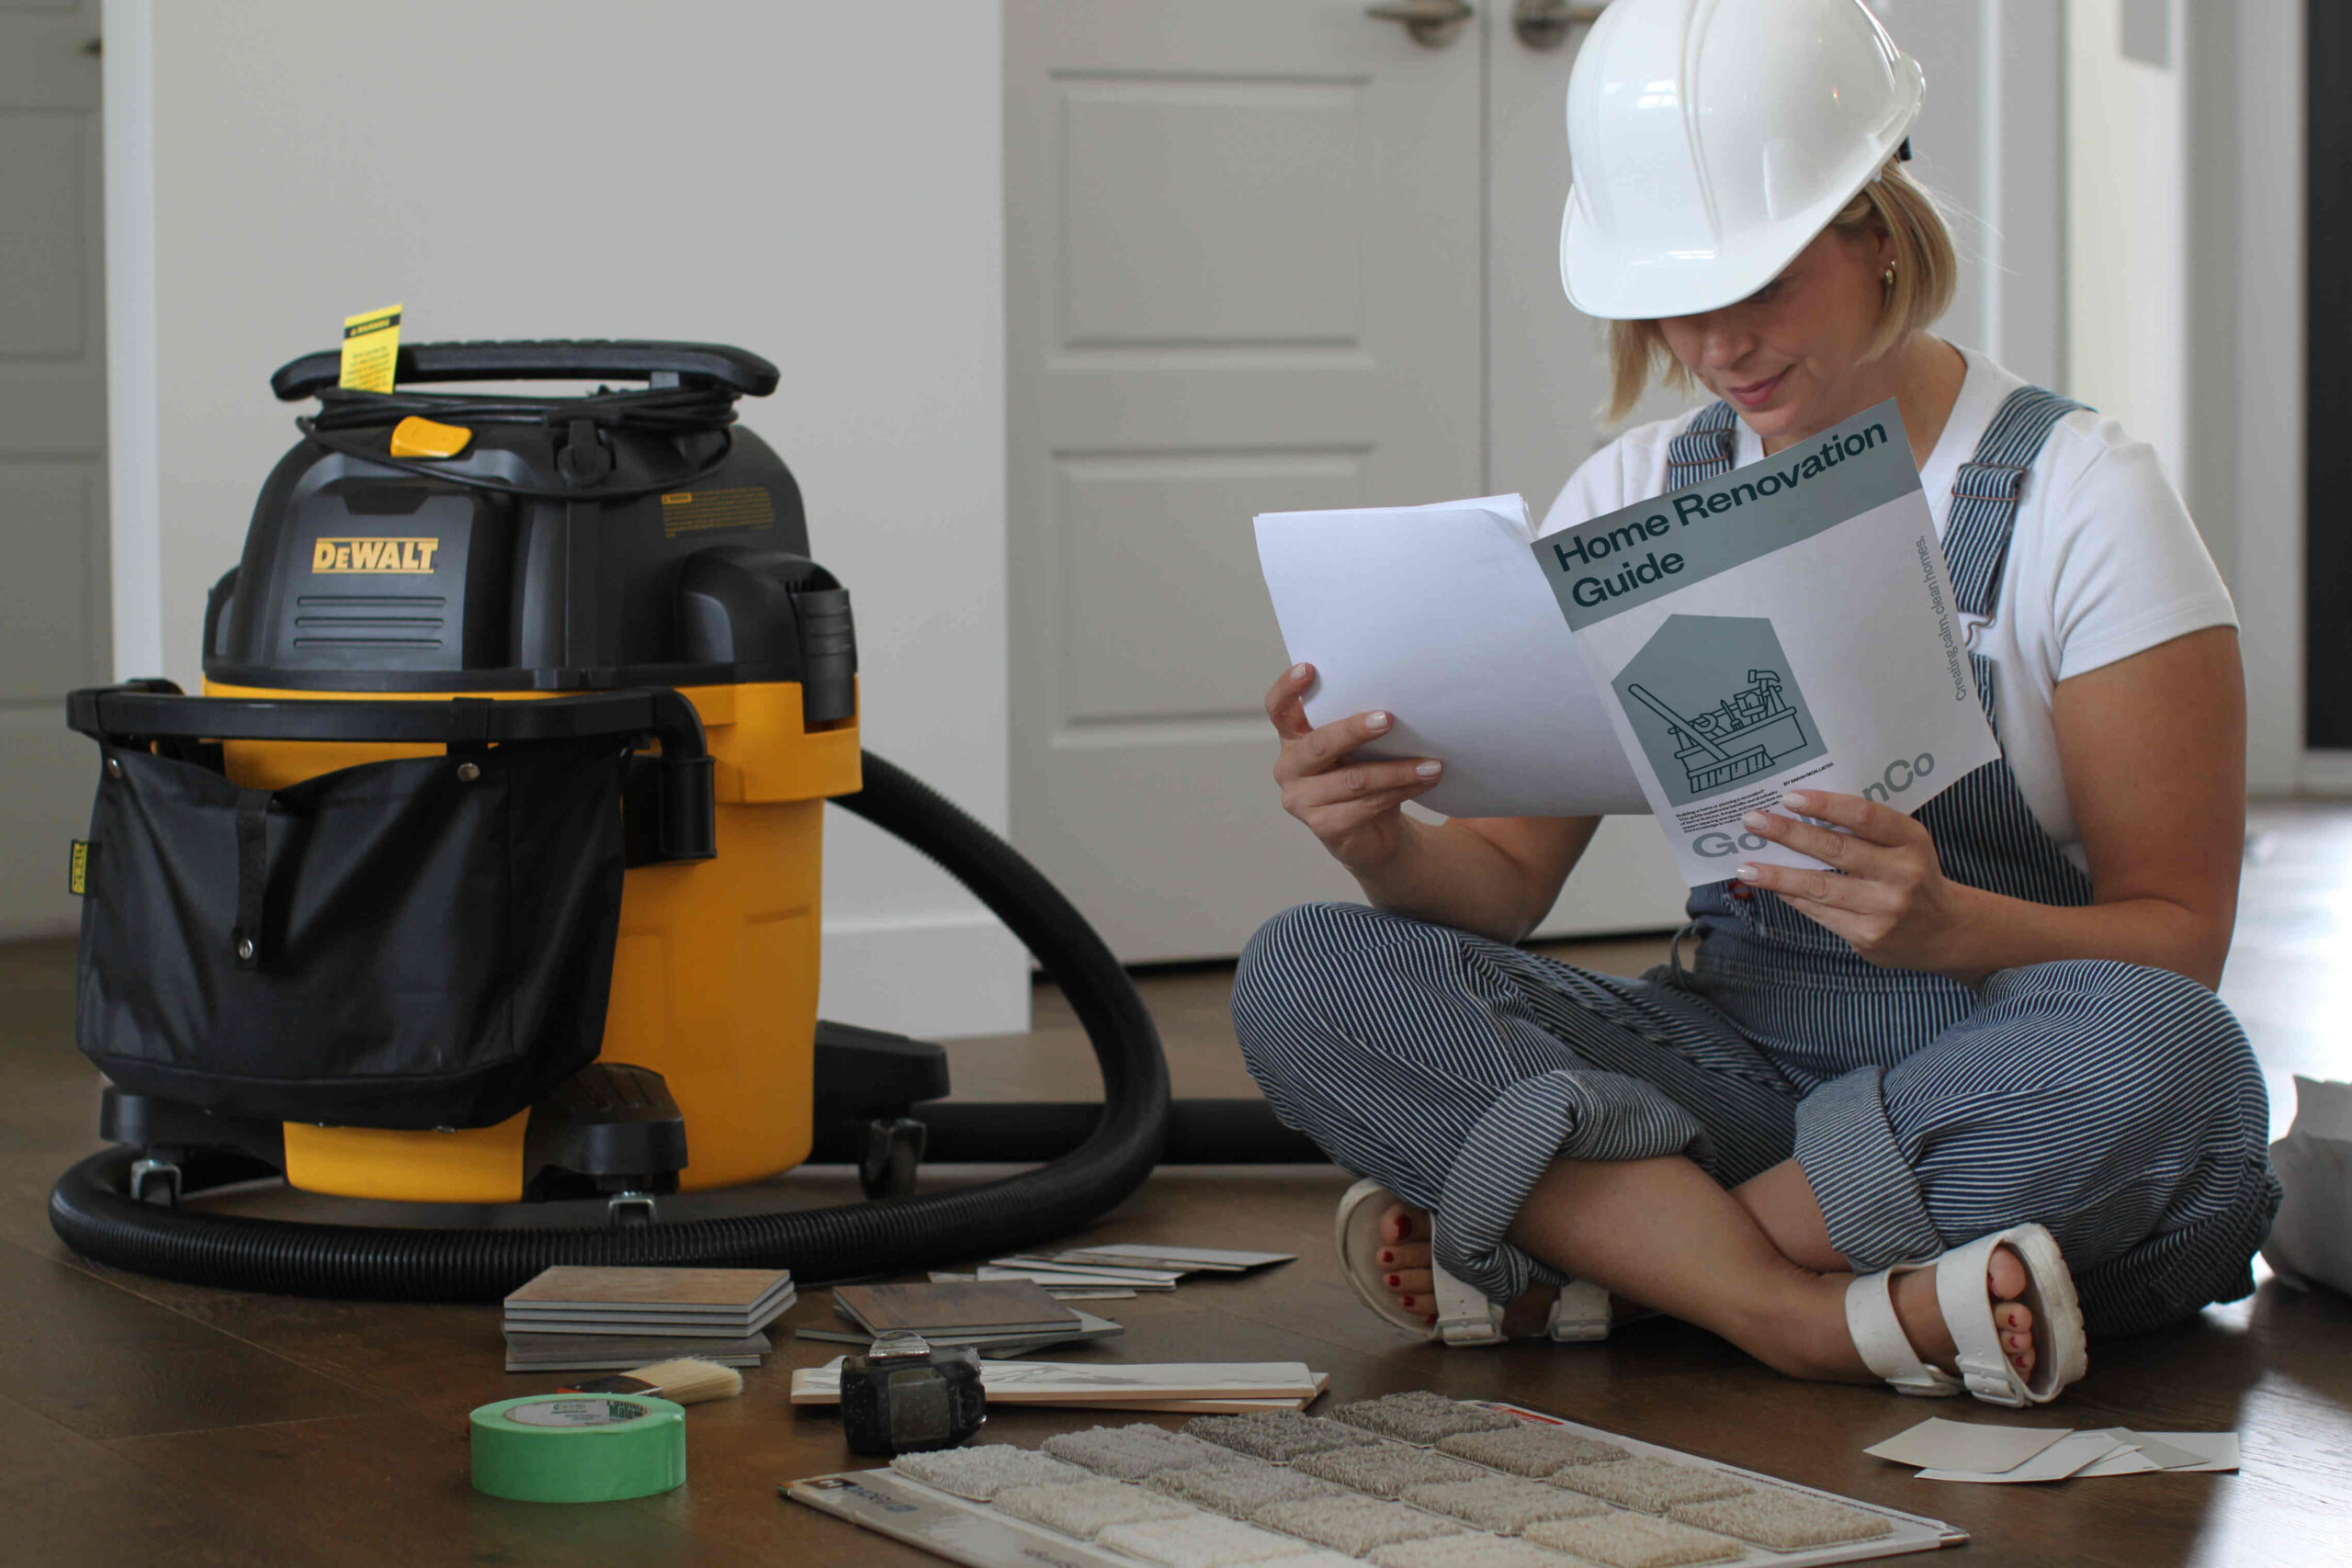
To set yourself up for success, get the right tools to make the job easy.
When you buy through our links, we may earn a small commission.
- Shop Vac (USA | Canada)
- Mop with extra heads (USA | Canada)
- Microfibre cloths (USA | Canada)
- Trash Bags (USA | Canada)
- Swiffer® Dusters (USA | Canada)
- Cleaning products – powdered Tide®, Bleach, Windex®, etc. See our full list.
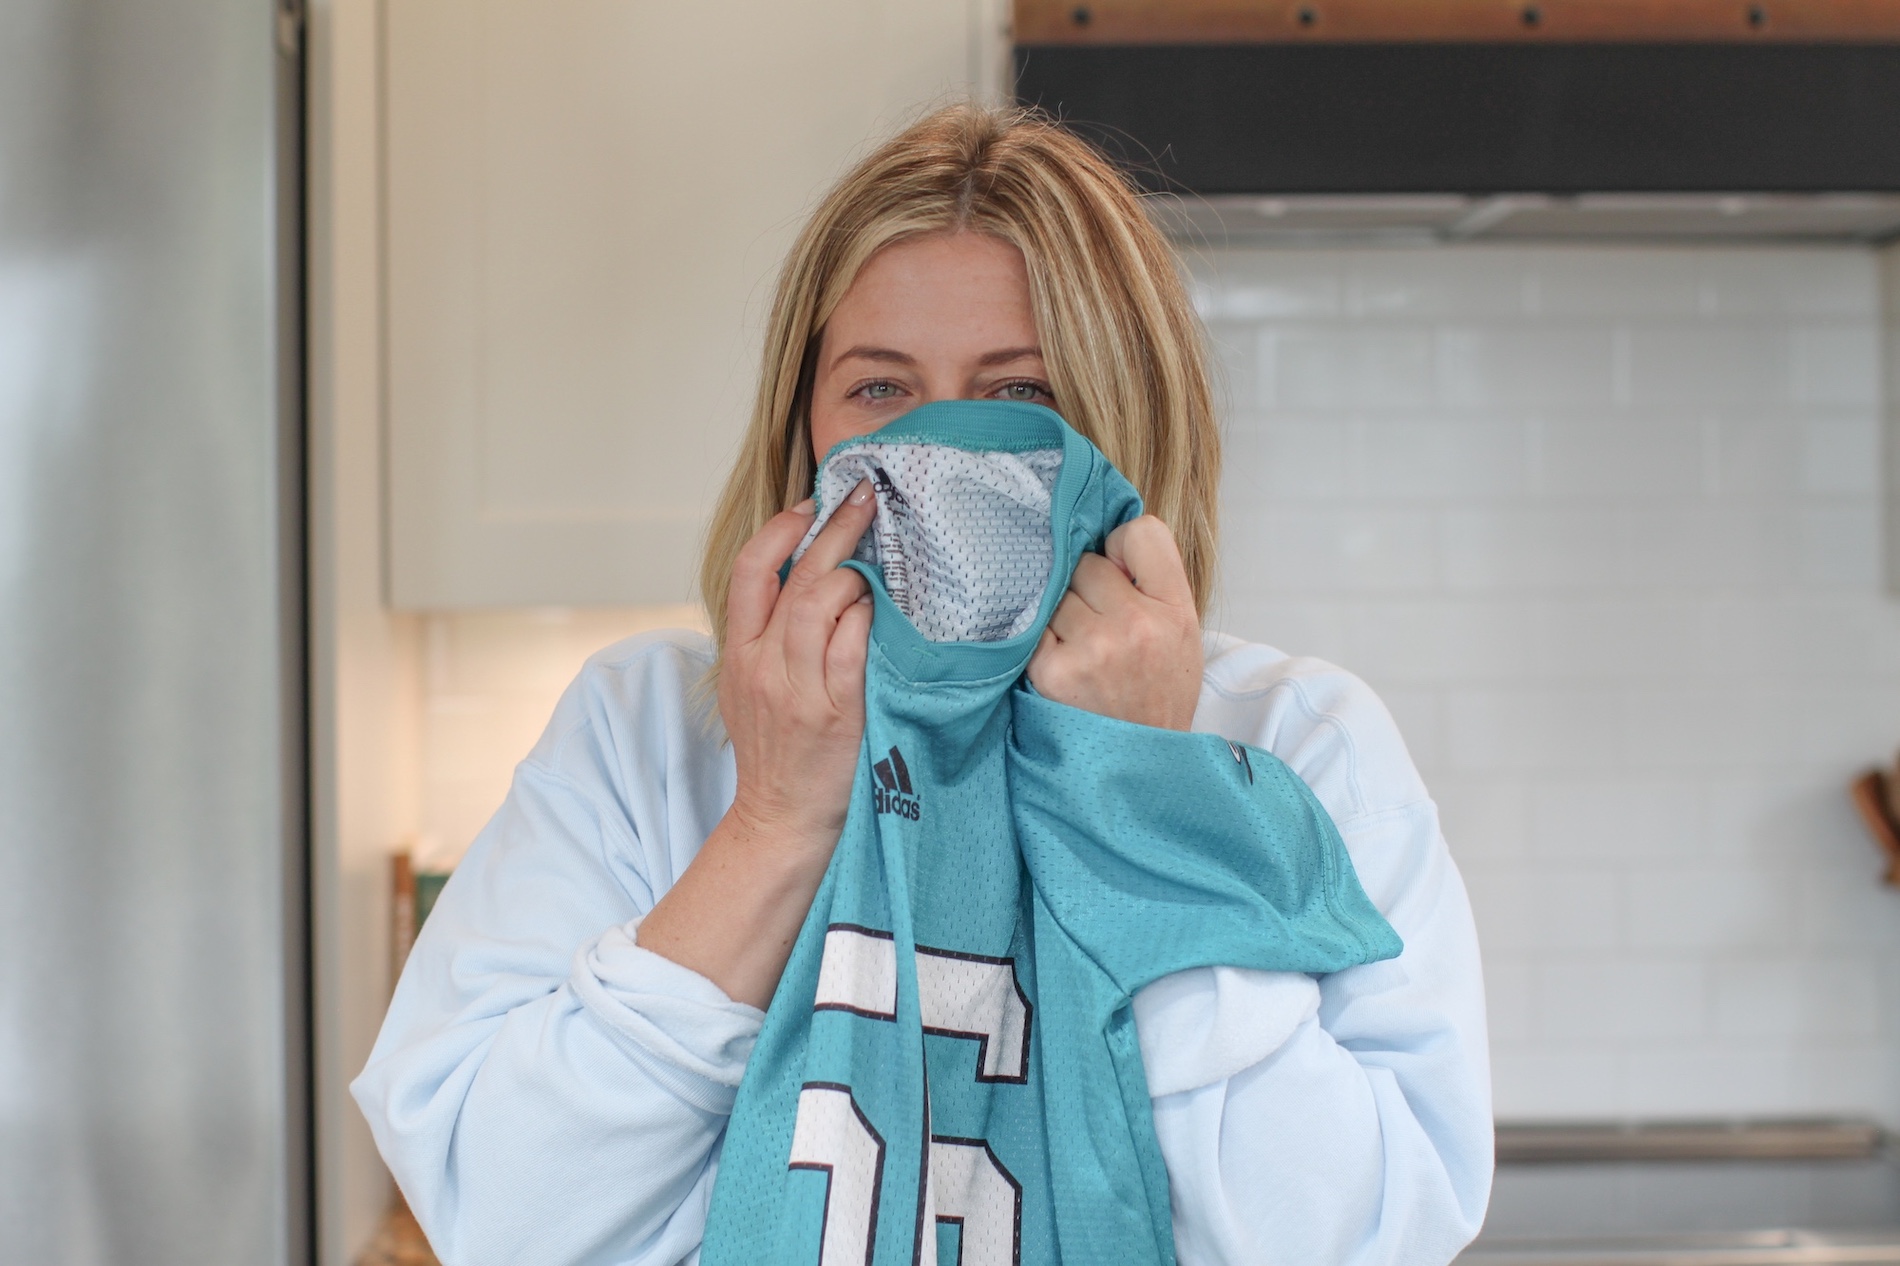
- PPE – face mask (USA | Canada), construction gloves (USA | Canada)
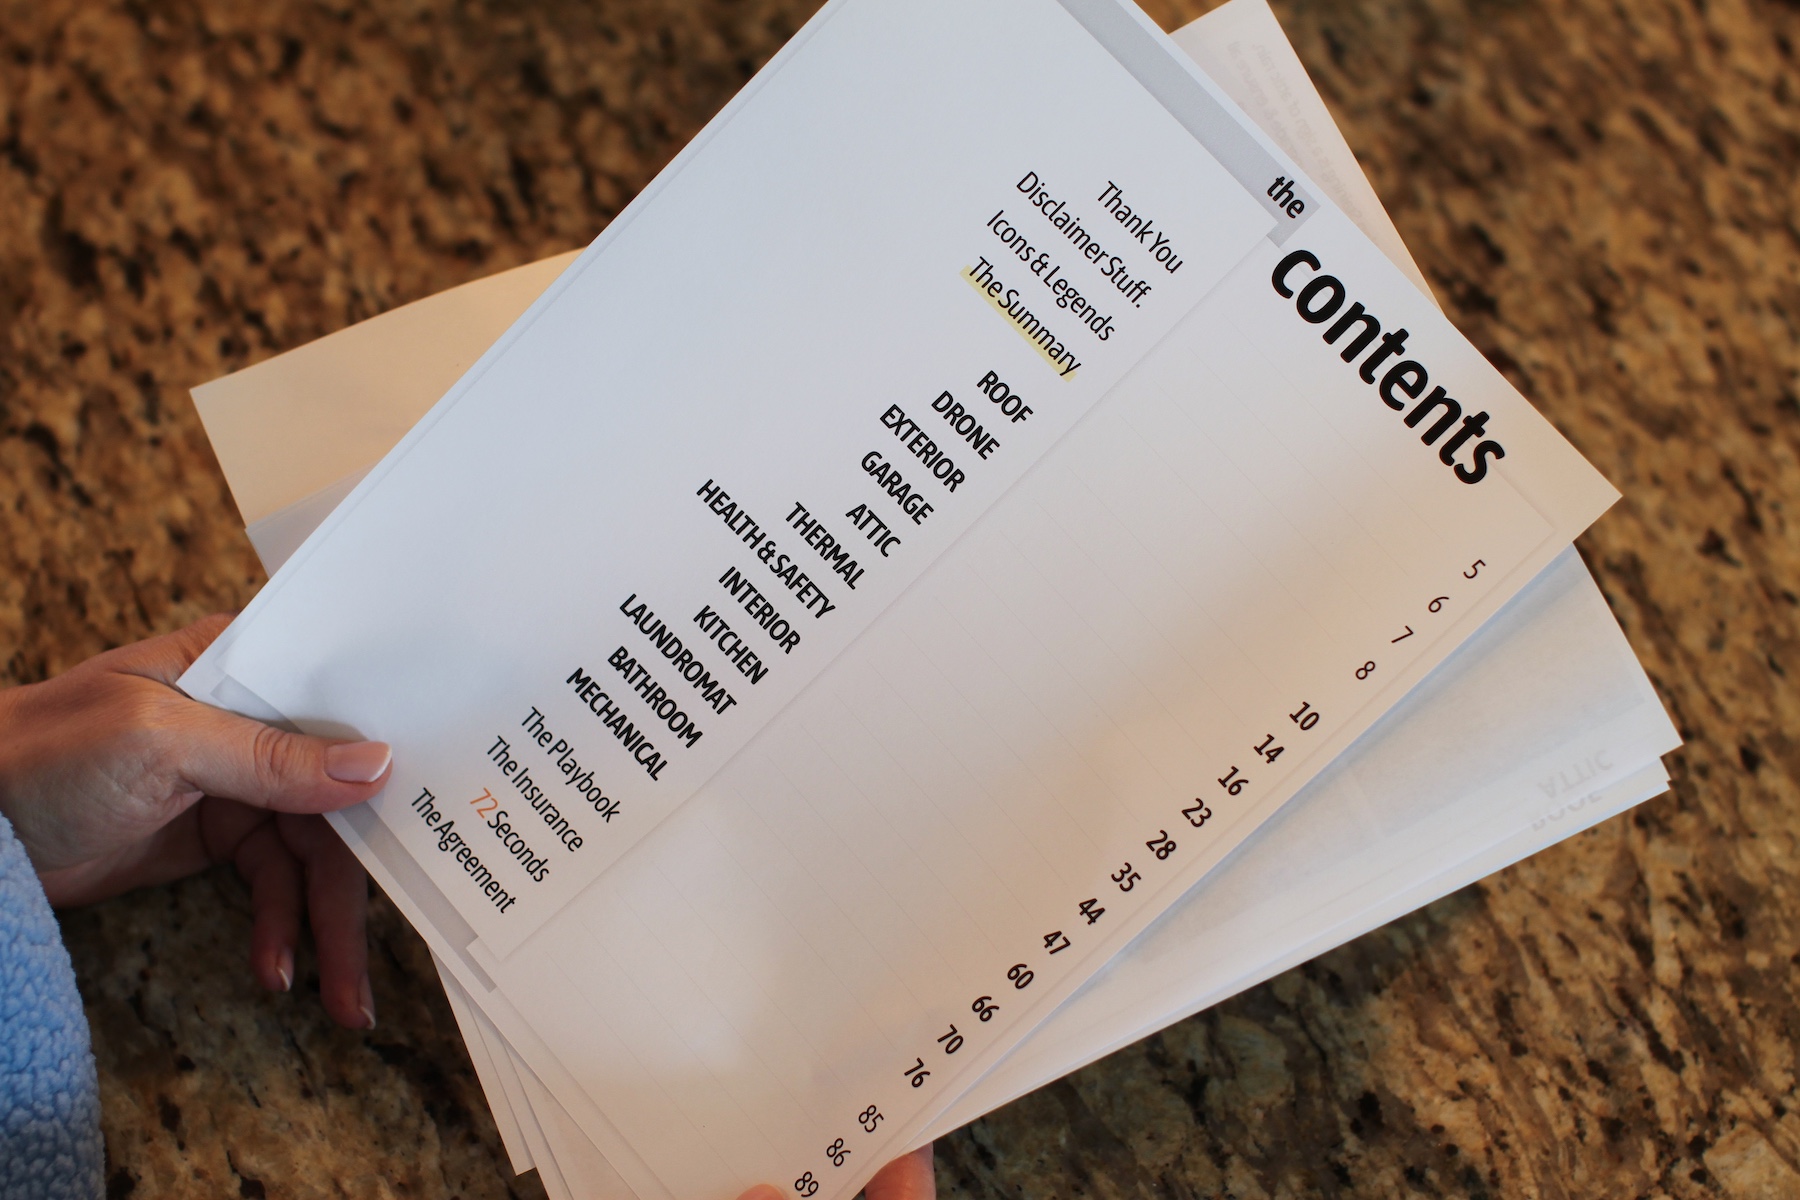
How to clean each room:
Step 1: Clear the clutter
Remove large construction debris, tools, and anything that doesn’t belong in the room. Put them all back where they belong.
Step 2: Tackle the dust
Construction dust is sneaky and super fine. It will wreck your home vacuum, so start with sweeping, then shop vac every surface—from ceiling fans to baseboards. Do this a few times throughout the construction process.
Step 3: Wipe everything down
Use our Tide® and water recipe to clean top to bottom. Change your solution as it gets dirty. Mop the floors last!

Step 4: Further deep clean the room
(If there is any dirt or grime remaining). We’ve broken down each room in the articles below:
Renovation Blunders? Here’s How to Clean Them Up
Paint Spills
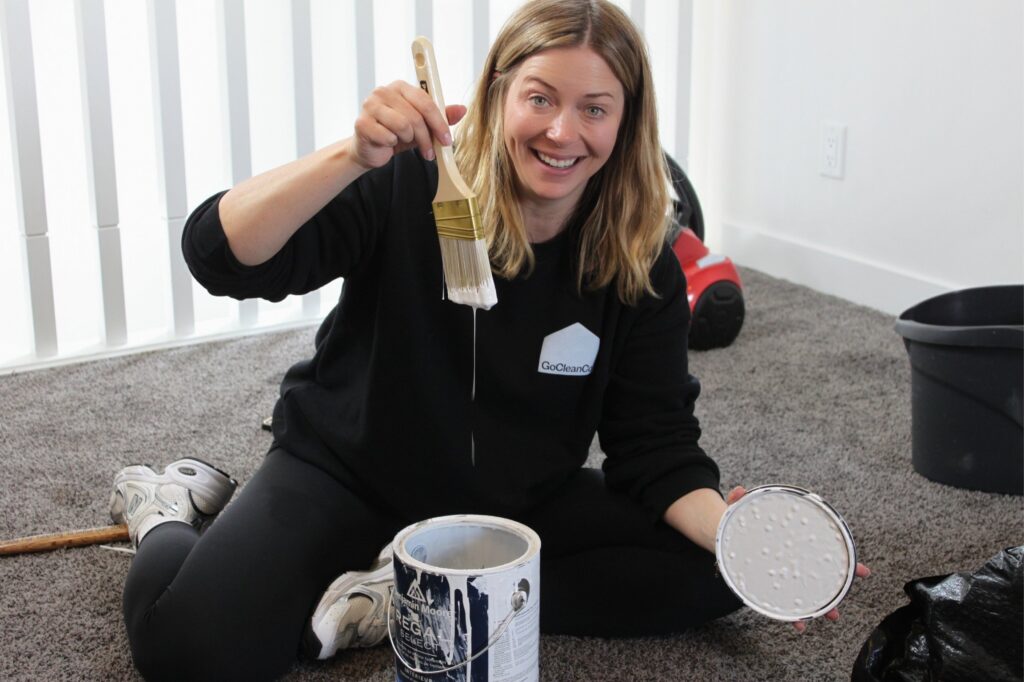
Paint spills = panic. But don’t stress—we’ve got your back. Depending on the surface and paint type, cleanup is doable with the right tools (and a little patience). Always to do a test spot first with any cleaning method. Act as quickly as you can. Paint is easiest to remove while it is still liquid and before it dries.
Paint on carpet
If the spill is on carpet, grab whatever you have on hand to scoop up as much paint as you can while it is wet. Once scooped, drop it into another container (not into its original can; you don’t want to paint lint and dirt onto your walls). Once you’ve picked up as much as possible, it’s time to start dabbing up the rest with a spare rag. For water-based paints, use a mixture of warm water and dish soap. For oil-based paints, you may need to use a paint thinner. Here is where you must be extra careful; paint thinner can dissolve the finish of the surface you’ve spilled on. Dab, rinse, repeat. Work from the outside of the stain to the inside. You should see the paint slowly disappear.
Paint on hard surfaces
If the spill is on hardwood, tile, or vinyl flooring, start by wiping up as much as you can. Next, grab a wet microfiber cloth with dish soap and start wiping. This should cut it, but if needed, grab a scrub brush with dish soap and water for any stubborn spots.
If the paint has started to cure, you can use a putty knife to gently scrape away any paint, being careful not to damage the surface you are working on. You can also use a hair dryer or heat gun to soften the paint to allow for easier scraping.
Excess/Spilled Caulking
Excess caulking is a simple fix.
If it needs to be redone, a putty knife, caulk remover tool (USA | Canada), or exacto knife will easily remove it. Carefully cut it out, and then start over—no big deal.
If it’s spilled on a surface, you can also use caulk remover solvent (USA | Canada). This can be used on hard surfaces and fabric (test a small spot first). Start by spraying a small section, let it sit for a few minutes, then scrape up the caulking. Next, move on to the rest of the mess.
Final Steps: Disposal, Recycling & Professional Help
Once the scrubbing is done, it’s time to deal with what’s left behind: debris, dust in your vents, and all the junk construction brings. Here’s how to wrap it all up (and when it’s okay to tap out and call in the pros).
Waste/Cleanup
Construction generates a lot of waste. Here’s how to handle it:
- Rent a dumpster for easy disposal.
- Keep a broom, shop vac, and garbage bags on site.
- Follow local rules for hazardous waste.
- Recycle and donate where possible (think: Habitat for Humanity for cabinets and doors)
When in doubt, hire it out.
Most of the general cleaning can be done by you, but sometimes it’s best to call in the professionals. Especially for things like:
- Air duct cleaning
- Dryer vent cleaning
You can do your best by covering vents before construction, vacuuming out vents as far as your vacuum can reach, etc., but there’s always some dust left behind deep in our HVAC systems. That dust will then be spread throughout the home every time the system turns on. Do yourself a solid and get these taken care of.
With the right tools and a game plan, you can handle post-construction cleanup like a pro.
Just remember: every swipe of your mop is one step closer to enjoying your fresh new space.
Haven’t started your reno yet? Get ahead of the mess and choose easy-to-maintain finishes and features —grab our Home Renovation Guide here.

Georgia @GoCleanCo


We're big on Instagram.
Follow @GoCleanCo for seriously satisfying videos and top-secret tips. Don’t be shy, come say hi.
gocleanco
493 2,458,104
Creating calm, clean homes.
Cleaning expert plus I do some other stuff which is always a wild ride
🫠🫠🫠
🫠🫠🫠 ...
GO-GO-GADGET ARM @swiffer
GO-GO-GADGET ARM @swiffer ...
Honestly we coulda kept going. ✨
Honestly we coulda kept going. ✨ ...
We took a poll and these are the most requested things Moms want for Mother’s Day. Did we miss anything? Send this to the people in your life who know how to make it happen! Also….most of these things are free—they just take some effort.
We took a poll and these are the most requested things Moms want for Mother’s Day. Did we miss anything? Send this to the people in your life who know how to make it happen! Also….most of these things are free—they just take some effort. ...
Sneaky surprise clean for my Mom for Mother’s Day! She deserved this so much, she has scrubbed a lot of houses with me over the years. Many of you may not know this but my Mom has tagged along and helped with cleaning and training the team since day one. She knows the entire team inside and out and we all love to call her “Mom”. She taught me how to clean, how to run a business and most importantly, how to stand on my own two feet. Then I took everything she taught me and turned it into ✨ THIS ✨
Happy Mothers Day Mom @sarahsmomtrudy
Sneaky surprise clean for my Mom for Mother’s Day! She deserved this so much, she has scrubbed a lot of houses with me over the years. Many of you may not know this but my Mom has tagged along and helped with cleaning and training the team since day one. She knows the entire team inside and out and we all love to call her “Mom”. She taught me how to clean, how to run a business and most importantly, how to stand on my own two feet. Then I took everything she taught me and turned it into ✨ THIS ✨
Happy Mothers Day Mom @sarahsmomtrudy ...
By popular request, I tried out the newest the new Mike Washoksi! He did not disappoint. This little pressure washer packs a big punch of power and cleaned up years of grime from this deck in about 20 mins. Now what else can I pressure wash 🤔 😈 Comment: Link and I will send the link to you IN DM!
By popular request, I tried out the newest the new Mike Washoksi! He did not disappoint. This little pressure washer packs a big punch of power and cleaned up years of grime from this deck in about 20 mins. Now what else can I pressure wash 🤔 😈 Comment: Link and I will send the link to you IN DM! ...
🪄✨
I used Mr. Clean undiluted, sprayed it on and let it sit for about ten minutes, scrubbed and wiped it off well to rinse. Letting your cleaning products sit is part of the process, they do a lot of the heavy lifting for you. I think many of us get discouraged with cleaning products because we spray and wipe immediately with minimal results…dirt and grease needs time to soften and break down before you can remove it. However, there is always a little bit (or a lot) of elbow grease required, nothing in life is free 🙃
🪄✨
I used Mr. Clean undiluted, sprayed it on and let it sit for about ten minutes, scrubbed and wiped it off well to rinse. Letting your cleaning products sit is part of the process, they do a lot of the heavy lifting for you. I think many of us get discouraged with cleaning products because we spray and wipe immediately with minimal results…dirt and grease needs time to soften and break down before you can remove it. However, there is always a little bit (or a lot) of elbow grease required, nothing in life is free 🙃 ...
Canister Combo vacuums reviews are today 👀 find the full breakdown down in my stories 👩🏼🔬✍🏻
Canister Combo vacuums reviews are today 👀 find the full breakdown down in my stories 👩🏼🔬✍🏻 ...