


How to Clean Your Fridge Like the Pros in 8 Easy Steps
Open your fridge doors. What is the first thing you notice? I’m going to go out on a limb here and assume that pleasant smells don’t waft out of your refrigerator. In all likelihood, you’re hit with a pungent smell. You’re not proud of it, at the least.
Fridges get dirty fast. Unfortunately, it’s also not something we’re super stoked about cleaning. And, listen, I get it. Cleaning out your refrigerator can be very overwhelming. You use it multiple times per day, but it’s also the appliance where things go to die.
But here’s the thing: When we take care of the crumbs, dried milk flakes, moldy produce, and random elastics, it will change how we feel about the entire kitchen. The pleasure of meal prep is dependent on the state of the fridge.
So, let’s do an overhaul of this stinky fridge together and reclaim your kitchen!
When you buy through our links, we may earn a small commission.

Step 1 – Empty The Entire Fridge
The key to effective deep cleaning is to give yourself a clean slate to work with. This means emptying out the refrigerator before doing anything else.
- Start by removing everything from your fridge and checking expiry dates. Toss the salad dressing from 2018 and any moldy or slimy items. And if it’s something nobody in your family will eat, donate it! (Assuming it’s unopened, of course.)
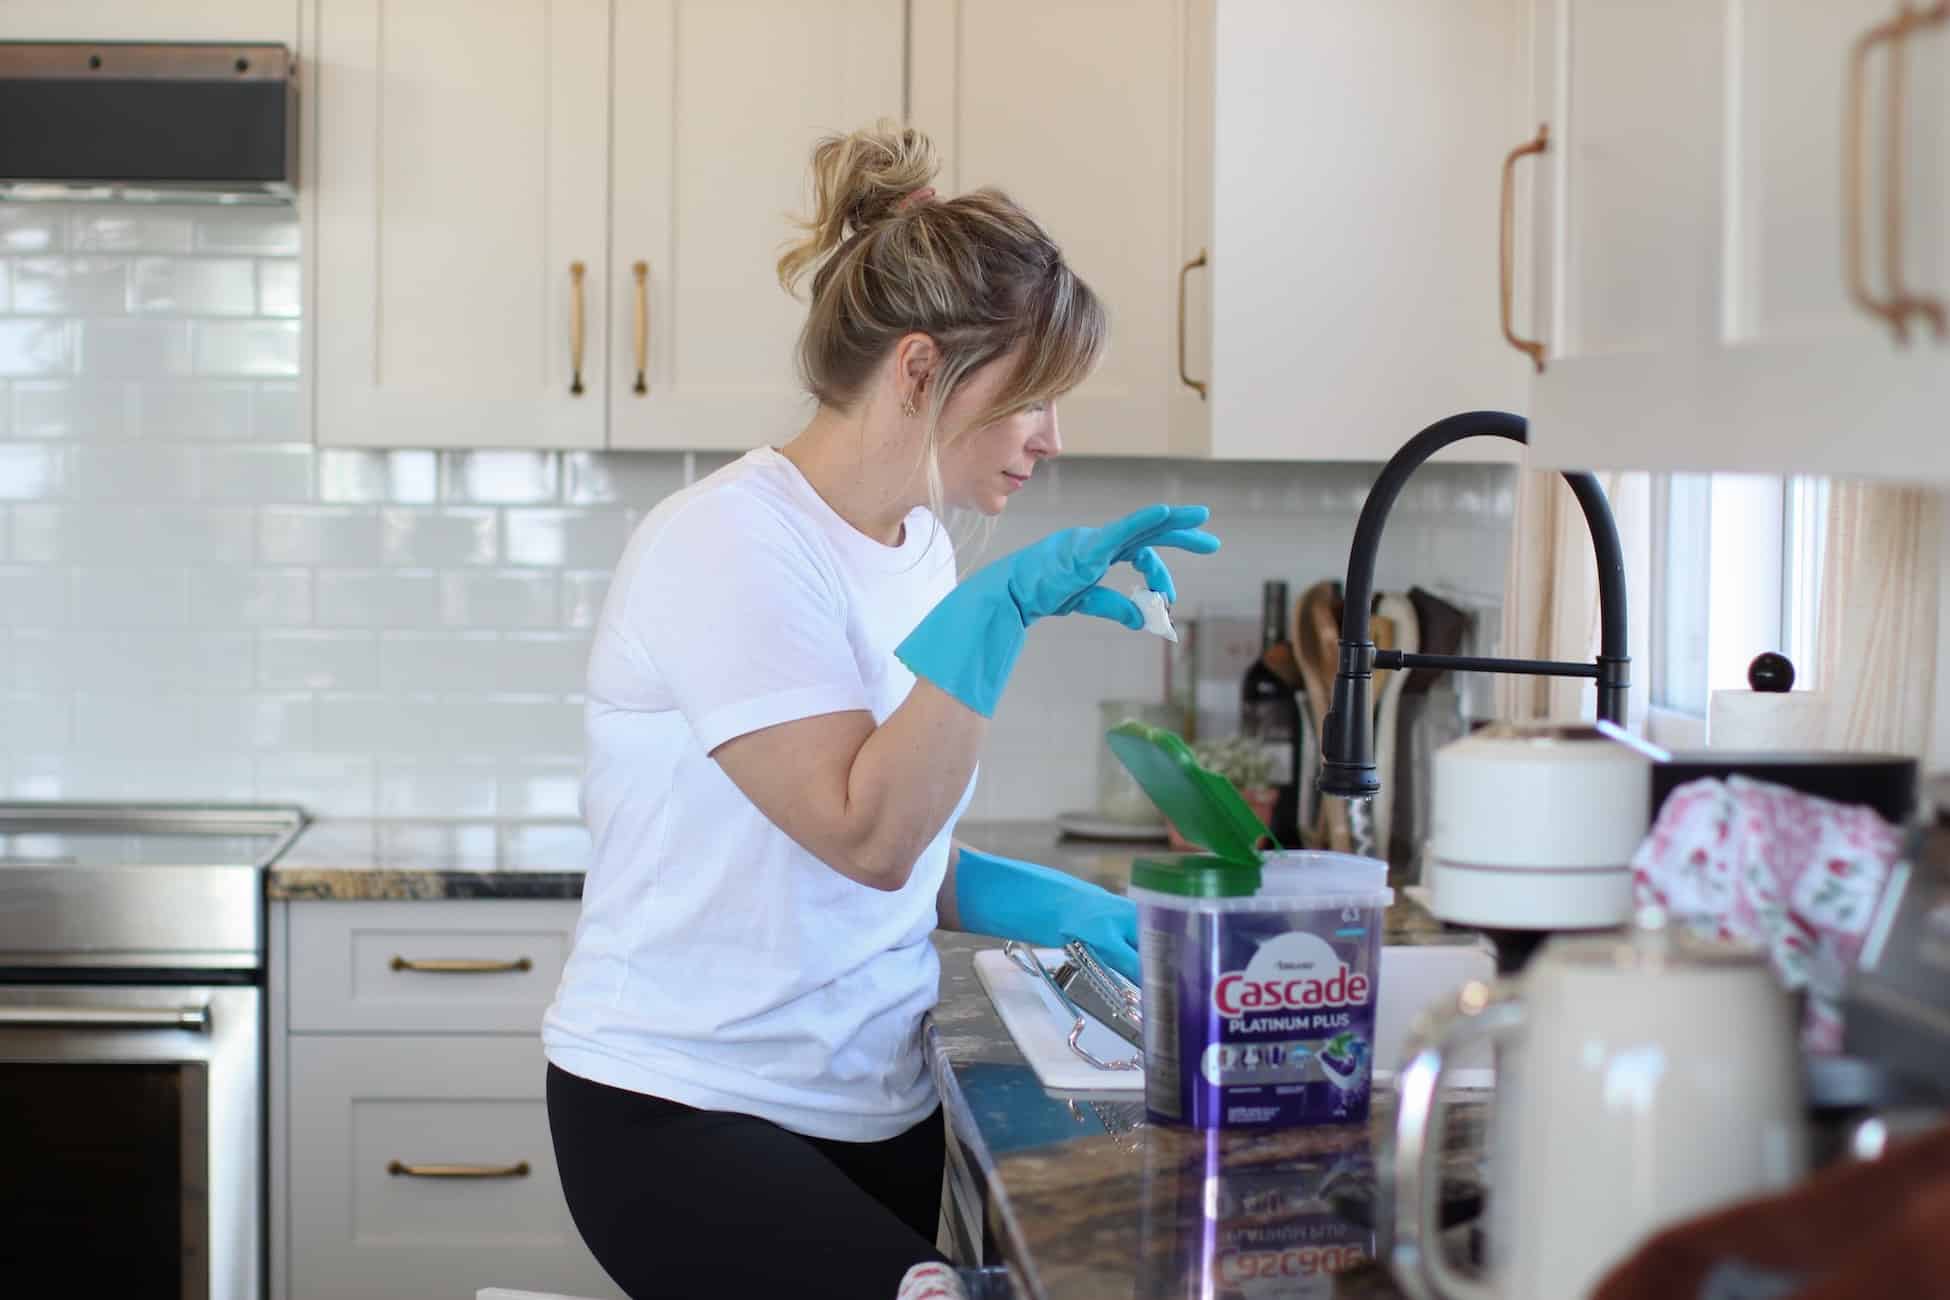
- Add a teaspoon of powdered Tide® and a splash of bleach to a sink of hot water.
- Wipe down all the jars and condiment containers. (We’re looking at you, grape jelly jar with sticky drips all around the edge.) If you use organizers or turntables in your fridge, these will also need washing out as well.

Pro Tip: Do this step right before a big grocery trip when there’s less food in the fridge.
Step 2 – Vacuum Out The Empty Fridge
Yes, you read that right! Vacuum out your fridge. Nothing will do the job better. Use a horse hair brush (USA) (Canada) (if you have one) to suck up all the crumbs and food bits from every shelf and crevice.
Not only is vacuuming out the fridge fast and easy, but it’s also a lot less gross. Rather than grabbing big crumbs and other gunk with a paper towel, you can suck it up at arm’s length.
Step 3 – Wipe Out The Inside
Once all the crumbs are gone, remove all the drawers and shelves. Again, please let glass shelves sit at room temperature to warm up.
- With the same WBT mixture (start with a fresh mixture if the water is dirty from step 1), wipe down the fridge walls and shelf brackets. See how much easier this is when there are no crumbs to wipe up? (You can thank us later.)

Step 4 – Wash The Shelves And Drawers
When the glass has warmed and is ready to be washed, scrub everything in the sink. Extra sticky messes may require soaking.
We like to air dry everything. Place them on an old towel that you don’t mind getting bleach on.
Once dry, use Windex® to polish the glass shelves and clear organizers. Make them shine!
Step 5 – Replace The Shelves And Drawers
Now that you have clean shelves, and drawers, it’s time to reassemble your clean refrigerator and restore order in the kitchen! Here are some tips:
- Put your shelves back in a functional way for you. The way it came when you purchased it is not always practical.
- Always line your drawers with a paper towel. This will help if things spill or go moldy.
- Open a new box of baking soda and leave it in the fridge to absorb smells. This will need to be replaced every two months. Be smart and put the date on the container when you open it. Your future self will thank you.
Step 6 – Organize And Replace Food Items
When most people try to organize their fridge, they attempt to do so by simply shuffling items around. But since you already have an empty fridge, this is a much easier task.
- Organize everything in like-groupings and for easy access. The items you use multiple times a day should not be kept on the top shelf at the back.
- Turntables are great for keeping condiments together (USA) (Canada). Salad dressings and sauces are best suited for door shelves, but we aren’t telling you how to live your life.
- Fruits and vegetables belong in drawers with venting; open them as directed on the drawers. These are designed to keep perishable foods fresh longer.
Step 7 – Freezer Deep Clean
You can follow all the same tips above for cleaning your freezer.
- Most bottom freezers have removable drawers. These will need to thaw longer before washing them out. Leaving the door open for a short while will allow you to wipe down racks without your cloth sticking to them.
- Discard any items that have been in there too long, Toss those 12 frozen bananas and vacuum up the loose peas we know are in there.
Step 8 – Wipe Down The Outside
Now for the final step of the process: Cleaning the outside of the fridge – a.k.a. the part you stare at all day.
- For stainless-steel fridges, wipe the front and side of doors with a little blue Dawn and a clean damp cloth. Allow them to fully dry before polishing. Spray Weiman® Stainless Steel liberally on your paper towel or directly on the doors.
- Be careful when you spray not to get it on your floors, as it will leave a film.
- Wipe with the grain of your steel, typically left to right. Don’t rub the product in too much. The doors will soak up any excess streaks; you just have to be patient and wait.
- If you don’t have a stainless-steel fridge, wipe the exterior doors with good old hot water and Tide®.
If your water dispenser has hard water buildup, follow the step in the video below:
Now when you go get new groceries, you will enjoy putting them away and leaving room for new functional organization.
Replace the paper towel when they become soiled, to keep the fridge fresh. Wipe all spills on jars and condiment containers after each use. The next time you clean your refrigerator, it will be a breeze.
Stand back and enjoy. Doesn’t it look so much brighter?!
For a list of our favorite products, click here.
– Katie W @ GoCleanCo
We're big on Instagram.
Follow @GoCleanCo for seriously satisfying videos and top-secret tips. Don’t be shy, come say hi.
gocleanco
569 2,578,211
Sarah McAllister
Collabs: [email protected]
Cleaning expert plus I do some other stuff which is always a wild ride
What’s in my purse, but really it’s my caddy.
Comment LINK and I’ll send you a list of everything I use.
What’s in my purse, but really it’s my caddy.
Comment LINK and I’ll send you a list of everything I use. ...
SOMPWM (sit on my porch with me)
Comment LINK and I’ll send you a list of everything I used.
SOMPWM (sit on my porch with me)
Comment LINK and I’ll send you a list of everything I used. ...
Tune into my @amazonlive today at 12 pm MTN and 2 pm EST. I’m showing a bunch of bedroom finds I got for my sisters new house. Comment LINK and we’ll send you the link to the livestream and all the stuff I used! #ad
Tune into my @amazonlive today at 12 pm MTN and 2 pm EST. I’m showing a bunch of bedroom finds I got for my sisters new house. Comment LINK and we’ll send you the link to the livestream and all the stuff I used! #ad ...
How to Clean Baseball Pants:
Regular cycle (with hot water)
Laundry detergent (I used powdered Tide)
Add in 1/3 cup of OUT White Brite
Soak for one hour
Finish cycle
Dry
*If you don’t have a top loader, do the one hour soak in the sink or a bucket, wash as normal
If you want the link to the Out White Brite comment LINK and I’ll dm it to you ⚾️
How to Clean Baseball Pants:
Regular cycle (with hot water)
Laundry detergent (I used powdered Tide)
Add in 1/3 cup of OUT White Brite
Soak for one hour
Finish cycle
Dry
*If you don’t have a top loader, do the one hour soak in the sink or a bucket, wash as normal
If you want the link to the Out White Brite comment LINK and I’ll dm it to you ⚾️ ...
Come watch my @amazonlive today at 10 am MTN/12 pm EST. Comment link and I’ll send you the link to watch OR you can search “Shop the Show” on the app. You can also find me on the Amazon Live Fast Channel — found on your Prime TV app 😎#ad
Come watch my @amazonlive today at 10 am MTN/12 pm EST. Comment link and I’ll send you the link to watch OR you can search “Shop the Show” on the app. You can also find me on the Amazon Live Fast Channel — found on your Prime TV app 😎#ad ...
Happy Mother’s Day, I hope you get what you want this year 💕
Happy Mother’s Day, I hope you get what you want this year 💕 ...
You guys come watch my @amazonlive ! They are fun and we get to review all the my fav things. Comment LINK and I’ll send it over. I’m going live today @ 11 am MST/ 1 pm EST and reviewing your top pics for Mothers Day #ad
You guys come watch my @amazonlive ! They are fun and we get to review all the my fav things. Comment LINK and I’ll send it over. I’m going live today @ 11 am MST/ 1 pm EST and reviewing your top pics for Mothers Day #ad ...
Just putting it out there 🌸🌷
Just putting it out there 🌸🌷 ...