


Holiday Storage Tips and Hacks to Keep Your Sanity
Picture this: It’s December 26th, and you are OVER IT. Christmas is dead to you, and you just want to pack it all away and get your clean, organized living space back. So you toss everything back into the same bins you’ve been using for 12 years with no rhyme or reason just to get it done quickly.
We’re here to remind you that MAYBE there is a better way. A way that will protect your investments and organize them in a way that will make next year’s setup a breeze.
When you buy through our links, we may earn a small commission.
Evaluate Your Current Holiday Storage
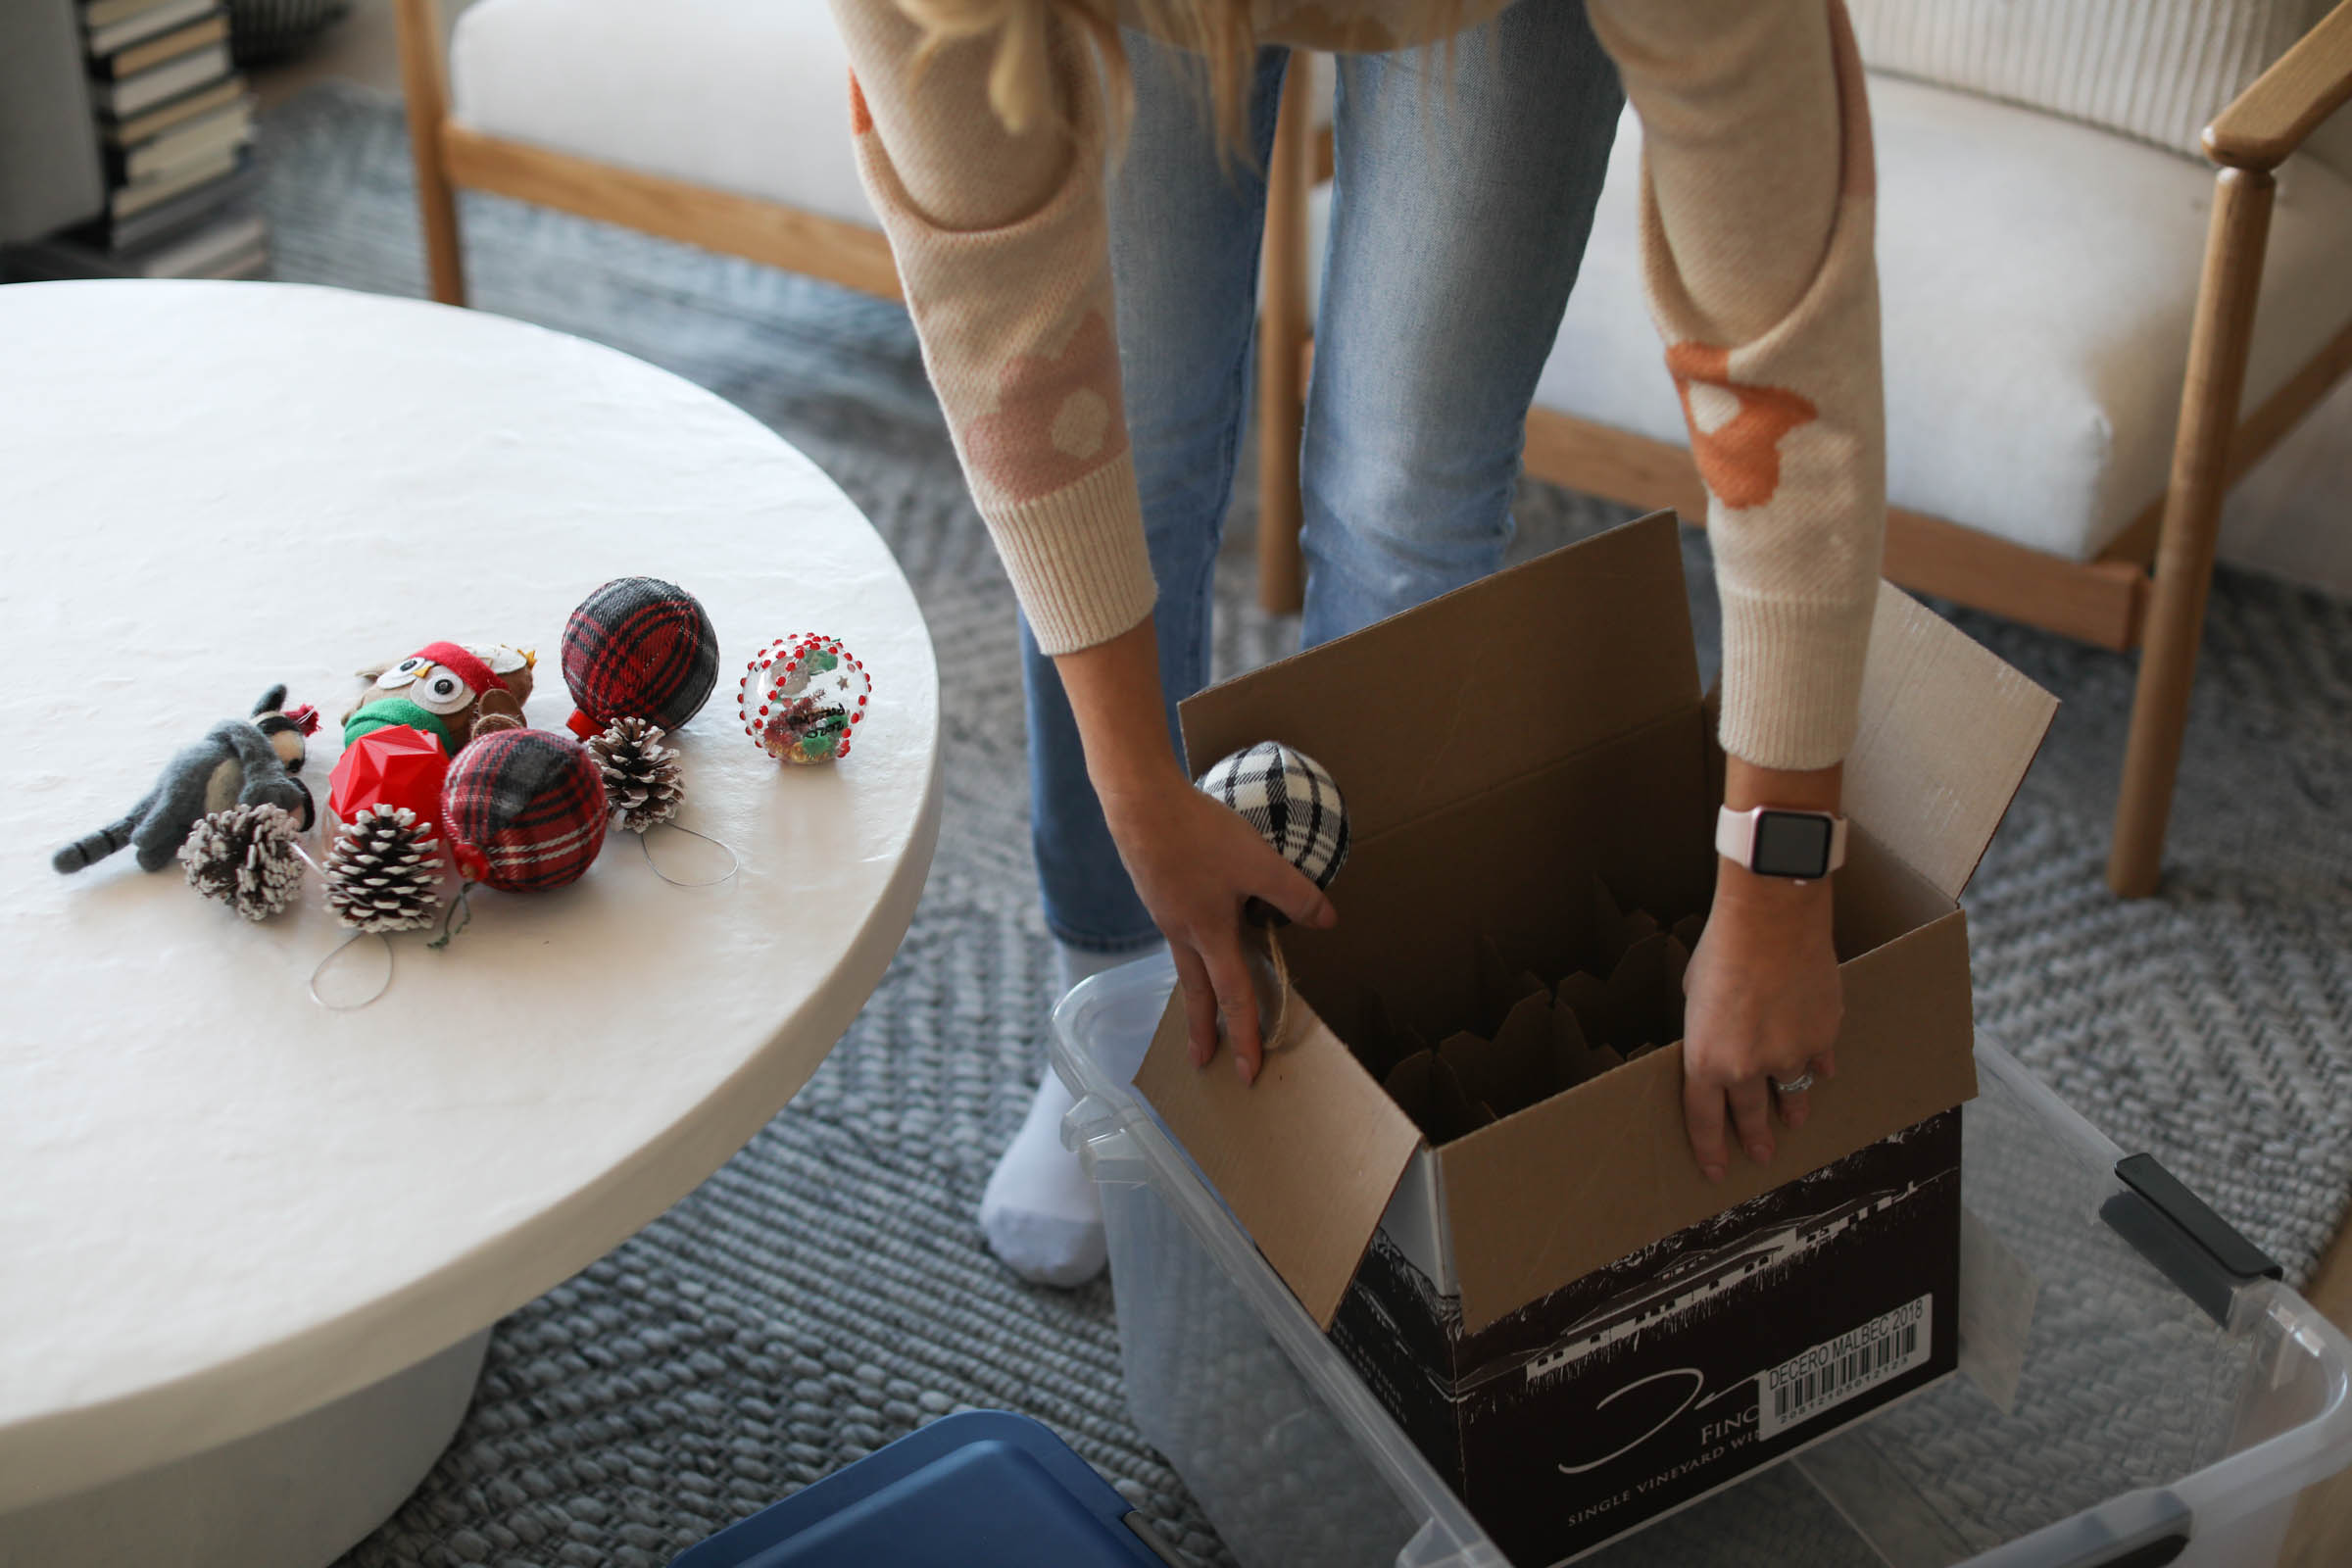
As you take out your decorations to set up for Christmas, the first thing you should do is evaluate your current storage situation. What works and what doesn’t? Are your bins in good shape, or are they cracking and breaking? Are they stored in a manner that is easy to access, or do you need to invest in some shelving (USA | Canada)? Is everything organized and labeled (USA | Canada), or are you hunting items down for an eternity? If you find that items are broken as you take them out or lights don’t work, then you need to do a better job packing them up. Consider yourself warned.
This is also a good time to take inventory of your Christmas decorations and holiday materials. Were all your possessions conveniently packed away last year, or did you have miscellaneous items spilling over in your basement? Did you acquire new items this year to add to your collection?
It’s hard to tell exactly what will fit in your current containers until you try, but do your best to estimate visually. If you end up needing more storage room, you’ll need to shop for some more containers (and if your existing containers are cracked or warped, some better options).
DIY Holiday Storage Hacks
Of course we are going to share some cool finds that will make things easy, but before you make that investment, we want to show you some of our favorite hacks and DIY storage solutions to help save you some dough.
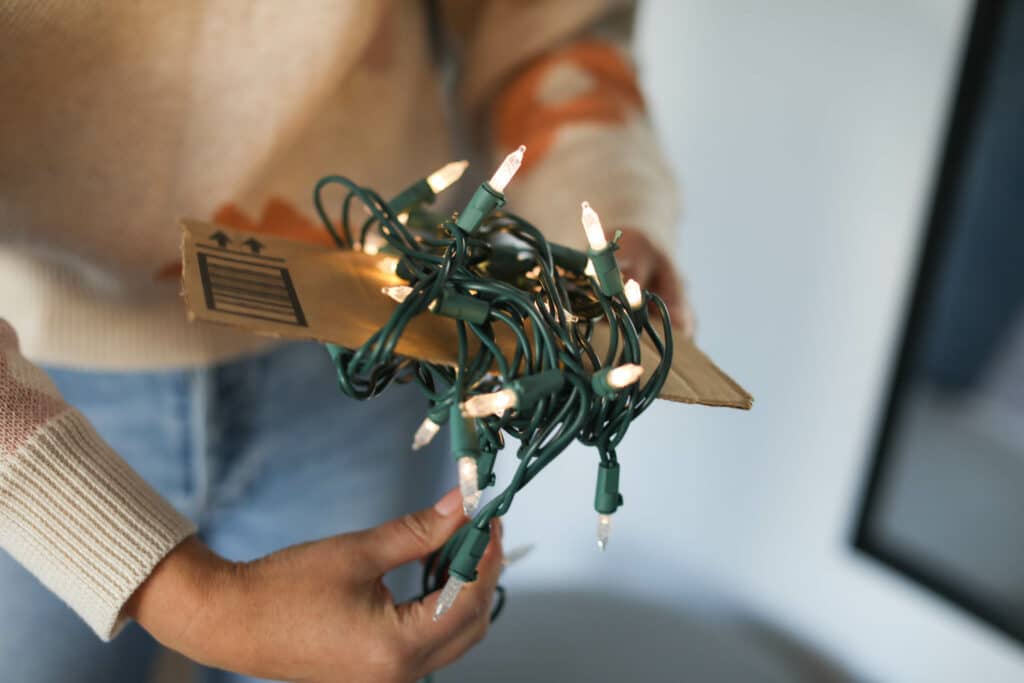
1. Wrap your lights, garlands, and ribbon around scrap pieces of cardboard, or empty wrapping paper tubes (if you can stop your kids from using them as swords and destroying them first, that is). We love this hack because you probably already have empty wrapping paper tubes and other cardboard tubes floating around from the holidays. If you don’t, it’s only a matter of time before you empty a toilet paper or paper towel roll.
Pro Tip: cut a small slit in the side of the cardboard to tuck the end into, so that they don’t unravel. Once you practice this trick a few times, you’ll become a master at it.
2. Use soft seasonal items like throw blankets, tablecloths, and dish towels, to protect your larger breakable items as you put them away. Wrap each item individually in dishcloths, or gradually incorporate more items into the surface area of a blanket. You can also use soft things like these to function as packing material, filling up the space within your container so things don’t move around; it’s great for preventing breakage next year when you carry these big boxes up and down the stairs.
3. Include more dividers. Whether you buy formal dividers or just scrap together your own, these thin partitions can help you keep things organized in every box you pack. For example, you can use simple cardboard sections to keep your wrapping paper, bows, ribbons, and name tags separate in the same container.
4. Reduce, reuse, recycle. Dig through your recycling before heading to the store to buy ornament storage. You might be surprised at some of the “trash” items that can be incredibly helpful when storing Christmas ornaments and decorations. Here are some items that are perfect for ornament storage:
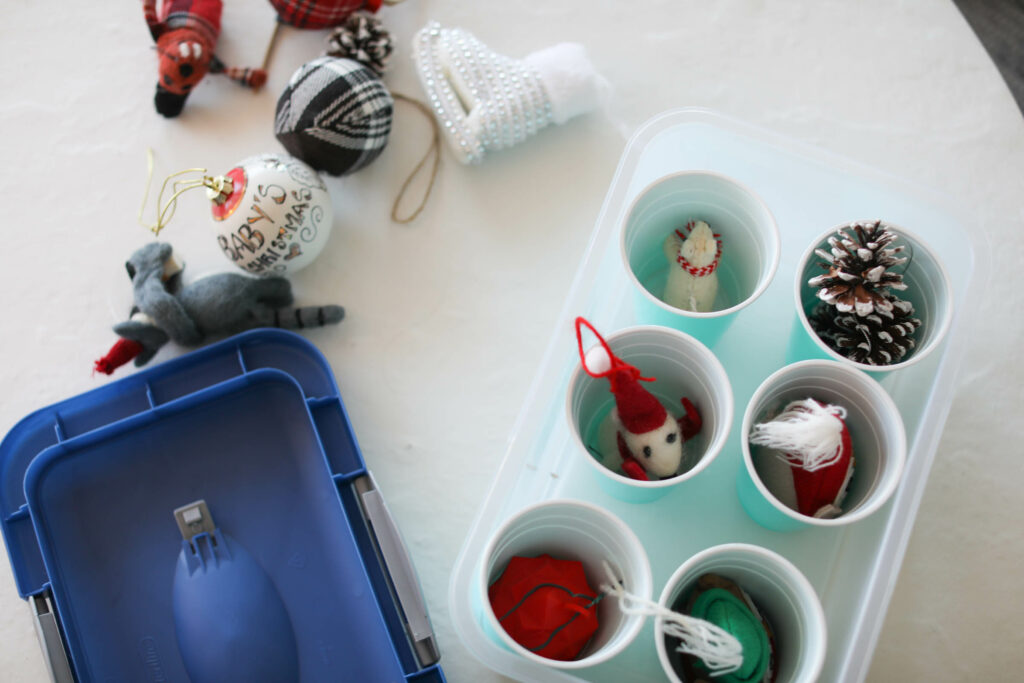
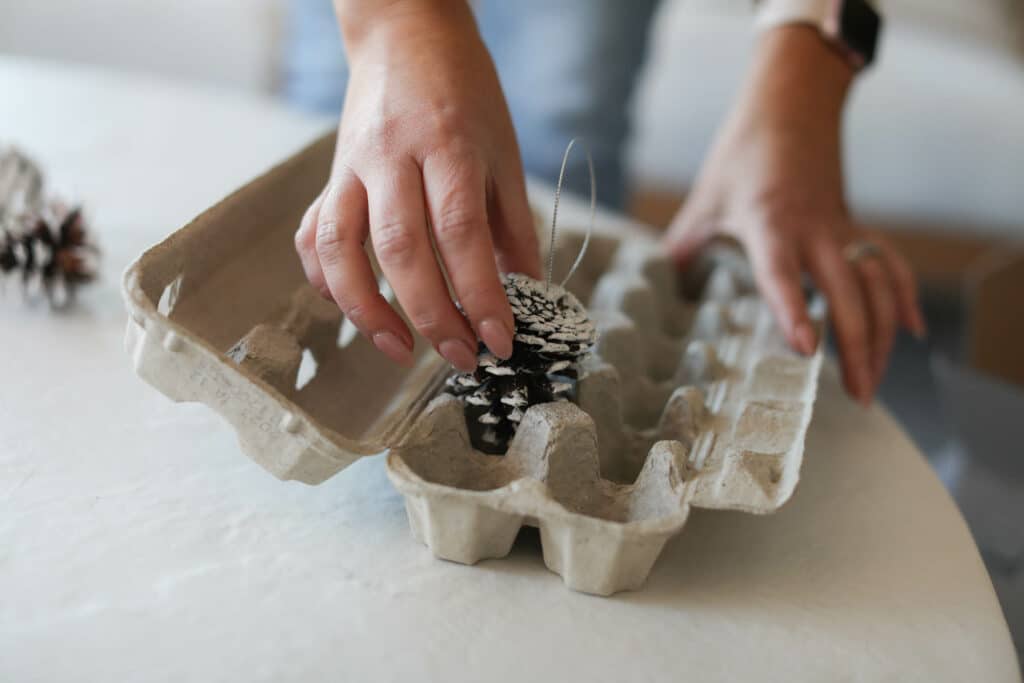
- Egg cartons
- Beer/wine bottle boxes – they have built-in dividers to keep your ornaments safe.
- Solo cups
- Clear gallon Ziploc bags
All of the above items can be stacked into bins to keep everything together.
5. If you can keep your tree box in good shape, there’s no reason you shouldn’t keep using it. You might be able to get away with keeping your tree separate in your storage area, but if it’s in a box, it’s going to be far more likely to preserve its shape and luster.
6. Take advantage of vertical and hanging storage. If you’re storing all your Christmas materials in the basement or in a closet, you’ll quickly learn the limitations of your space. There are only so many bins you can stack and so many decorations you can stuff into a relatively small area. Instead of trying to cram in more, learn to take advantage of more vertical space. That could mean investing in wall shelves or using over-the-door hanging storage units for some of your most important décor items.
7. Utilize clear garment bags. Do you do a lot of dry cleaning? If so, you probably have at least a handful of leftover garment bags sitting around. These bags are great for protecting wreaths, small trees, and other large decorations that wouldn’t ordinarily fit in a storage container or box.
Online Finds that Save the Day
If budget allows, we found some really handy storage solutions to make your life easier. Here are some of our favorites:

- Tree storage bags. (USA | Canada) Make sure these are good and sturdy so they last more than a year, and be sure to buy the right size for your tree. Not too big, not too small.
- Ornament storage bags. (USA | Canada) Don’t go flimsy, or you’ll risk breaking ornaments.
- Wreath / Garland storage bags (USA | Canada)
- Wrapping paper storage bags. (USA | Canada) Again, don’t skimp on quality here either. We made the mistake of buying a cheaper one with soft sides and ended up having to re-buy a better one. Lesson learned. There’s also a compartment for gift bags and tissue if you like to reuse those.
- Light Holders / reels. (USA | Canada)
- Clear bins. (USA | Canada) SO helpful to be able to see what is inside at a glance.
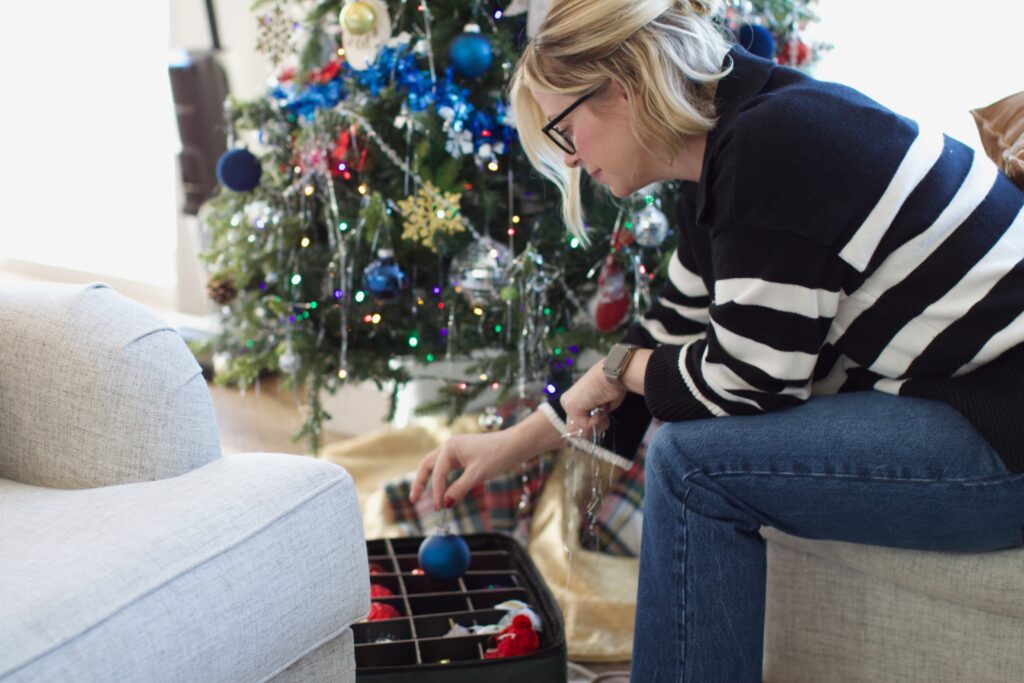
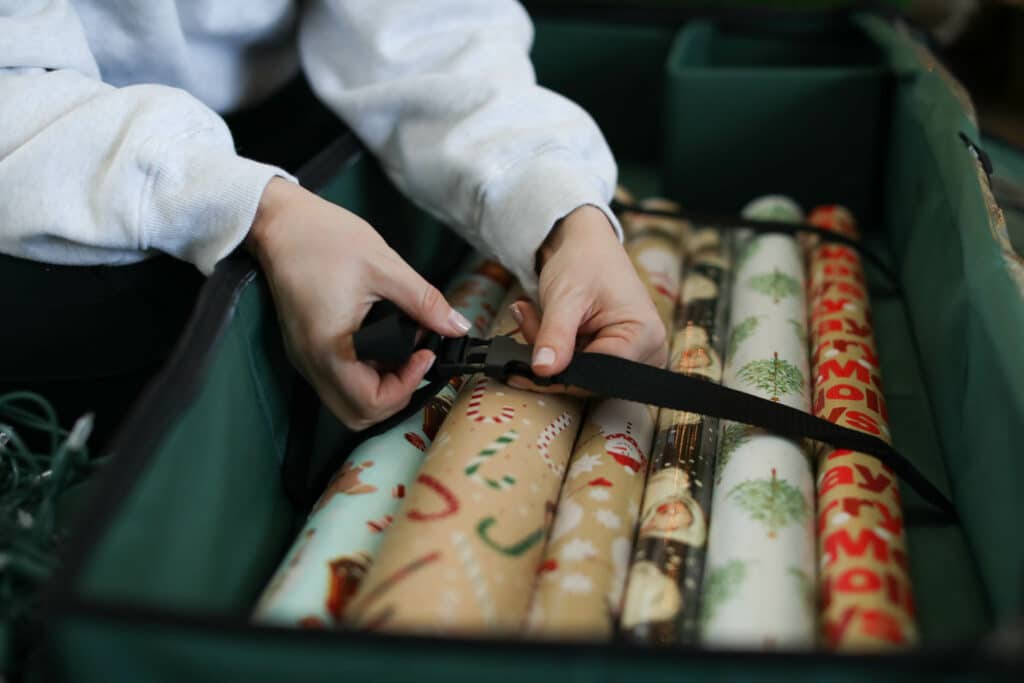
Hopefully these tips will help make decorating and pulling down decorations easy peasy each year. In addition, protect your investments and Christmas memorabilia for years to come.
See all our favorite Holiday storage and organization tools: (USA | Canada)
- Becky @GoCleanCo

We're big on Instagram.
Follow @GoCleanCo for seriously satisfying videos and top-secret tips. Don’t be shy, come say hi.
gocleanco
601 2,581,980
Sarah McAllister
Collabs: [email protected]
Cleaning expert plus I do some other stuff which is always a wild ride
Fall Fashion 🍂🧥is my fav
Comment FALL below and I’ll send you the deets
Fall Fashion 🍂🧥is my fav
Comment FALL below and I’ll send you the deets
I’ve tested a LOT of vacuums, and these are the ones I’d keep an eye on during Amazon Canada’s Prime Big Deal Days, Oct 6–7.
Comment LINK and I’ll DM you my picks. Because “whatever’s on sale” isn’t a vacuum-shopping strategy.
@amazonca #AmazonCanada
*Deals are subject to change, vary, or go out of stock.
I’ve tested a LOT of vacuums, and these are the ones I’d keep an eye on during Amazon Canada’s Prime Big Deal Days, Oct 6–7.
Comment LINK and I’ll DM you my picks. Because “whatever’s on sale” isn’t a vacuum-shopping strategy.
@amazonca #AmazonCanada
*Deals are subject to change, vary, or go out of stock.
Now available at Walmart 🛒 Molly’s Suds® #ad
This shirt was one stain away from becoming a cleaning rag. 😂 We put @mollys_suds Unscented Laundry Powder and Oxygen Whitener to work with a soak and a wash. Watch for the results. 👀
And remember: ALWAYS check your stains before putting anything in the dryer. If they’re still there, you’re not done yet.
Add these to your next Walmart run. ✔️
Now available at Walmart 🛒 Molly’s Suds® #ad
This shirt was one stain away from becoming a cleaning rag. 😂 We put @mollys_suds Unscented Laundry Powder and Oxygen Whitener to work with a soak and a wash. Watch for the results. 👀
And remember: ALWAYS check your stains before putting anything in the dryer. If they’re still there, you’re not done yet.
Add these to your next Walmart run. ✔️
Mini Vlog Giveaway! 👇🏼
What’s the weirdest thing you have found in your washing machine…I’ll go first: Watch until the end….I think this thing was growing some magic 🫘
Comment below to enter to win a Shark Blast Boss + a year’s supply of laundry goodies.
* Not sponsored or affiliated with Meta. See rules on our website www.housework.com/contest-rules/ Contest ends Oct 1 at midnight.
Mini Vlog Giveaway! 👇🏼
What’s the weirdest thing you have found in your washing machine…I’ll go first: Watch until the end….I think this thing was growing some magic 🫘
Comment below to enter to win a Shark Blast Boss + a year’s supply of laundry goodies.
* Not sponsored or affiliated with Meta. See rules on our website www.housework.com/contest-rules/ Contest ends Oct 1 at midnight.
Once the snow hits, these jobs get a whole lot harder. 👀
Once the snow hits, these jobs get a whole lot harder. 👀
I’m doing a weekend @amazonlive at 6 pm MTN/8 pm EASTERN tonight. I’ll show you my fav bathroom cleaning products and cleaning routine. COMMENT LINK and I’ll send you the link to watch! Ask me questions in the comments! #ad
I’m doing a weekend @amazonlive at 6 pm MTN/8 pm EASTERN tonight. I’ll show you my fav bathroom cleaning products and cleaning routine. COMMENT LINK and I’ll send you the link to watch! Ask me questions in the comments! #ad
The FREE Fall Cleaning Challenge Download is here. The provides you with a checklist to follow for every room in your home. You can print it! We even put QR codes for videos for you to watch if you don’t know how to clean something. These challenge resets your home so the in between maintenance cleaning isn’t so difficult to upkeep. Plus you get entered to win PRIZES FOR CLEANING YOUR HOUSE 🧹 🧽 Comment LINK below and I’ll send you a link to the freebie download.
The FREE Fall Cleaning Challenge Download is here. The provides you with a checklist to follow for every room in your home. You can print it! We even put QR codes for videos for you to watch if you don’t know how to clean something. These challenge resets your home so the in between maintenance cleaning isn’t so difficult to upkeep. Plus you get entered to win PRIZES FOR CLEANING YOUR HOUSE 🧹 🧽 Comment LINK below and I’ll send you a link to the freebie download.
THE FALL CLEANING CHALLENGE STARTS NOW. 🍂🧹
Download the FREE Fall Cleaning Challenge from Housework.com and you’re automatically entered to win $5,000 + our favourite cleaning gadgets. 💰
Then follow along as we deep clean the whole house together over the next 4 weeks.
Comment LINK and I’ll send you the free download. 👇
Week 1: Outdoors + Laundry Room. LET’S GO. 💪
THE FALL CLEANING CHALLENGE STARTS NOW. 🍂🧹
Download the FREE Fall Cleaning Challenge from Housework.com and you’re automatically entered to win $5,000 + our favourite cleaning gadgets. 💰
Then follow along as we deep clean the whole house together over the next 4 weeks.
Comment LINK and I’ll send you the free download. 👇
Week 1: Outdoors + Laundry Room. LET’S GO. 💪