


3 Steps To A Clean, Organized Laundry Room
The differences between laundry rooms can be huge. They can vary from a stacked unit tucked away in a closet to a spacious room with lots of cabinets. But even the biggest rooms can be a pain point if they aren’t properly organized. It doesn’t matter what size or style you have, the principles remain the same.
Why Bother With an Organized Laundry Room?
The laundry room is typically tucked out of the way from the rest of the home. And when guests come over, you can just shut the door and nobody is any the wiser. But do you really want to step into a filthy room when it’s time to clean your family’s clothes?
An organized laundry room is a reflection of your priorities. When the space is clean and organized, you’re more apt to take washing and cleaning seriously. And instead of feeling stressed every time you have to wash clothes, it can actually be a rewarding and (dare we say) therapeutic task.
Another benefit of having an organized laundry room is that you always know what you have. This means you never unintentionally buy duplicates or let something go to waste.
3 Steps to a Clean, Organized Laundry Room
The good news is that most laundry rooms are pretty manageable in size. That means most people can reasonably clean their laundry room from top to bottom in just an hour or two.
Here’s our recommended three-step plan for laundry rooms of all sizes:
1. Get it out of there
First things first, empty the room. Every cabinet, every drawer, and every nook and cranny. Sometimes you don’t know what you have until you see it all splayed out in front of you. Be prepared for plenty of oh-that’s-where-that-went moments (and don’t be shocked if stray socks start crawling out of every corner).
Once you’ve got everything pulled out, purge or donate anything that is expired or no longer used. Decide if there are items that can be stored somewhere else in the house and take them to their new homes.
2. Clean it up
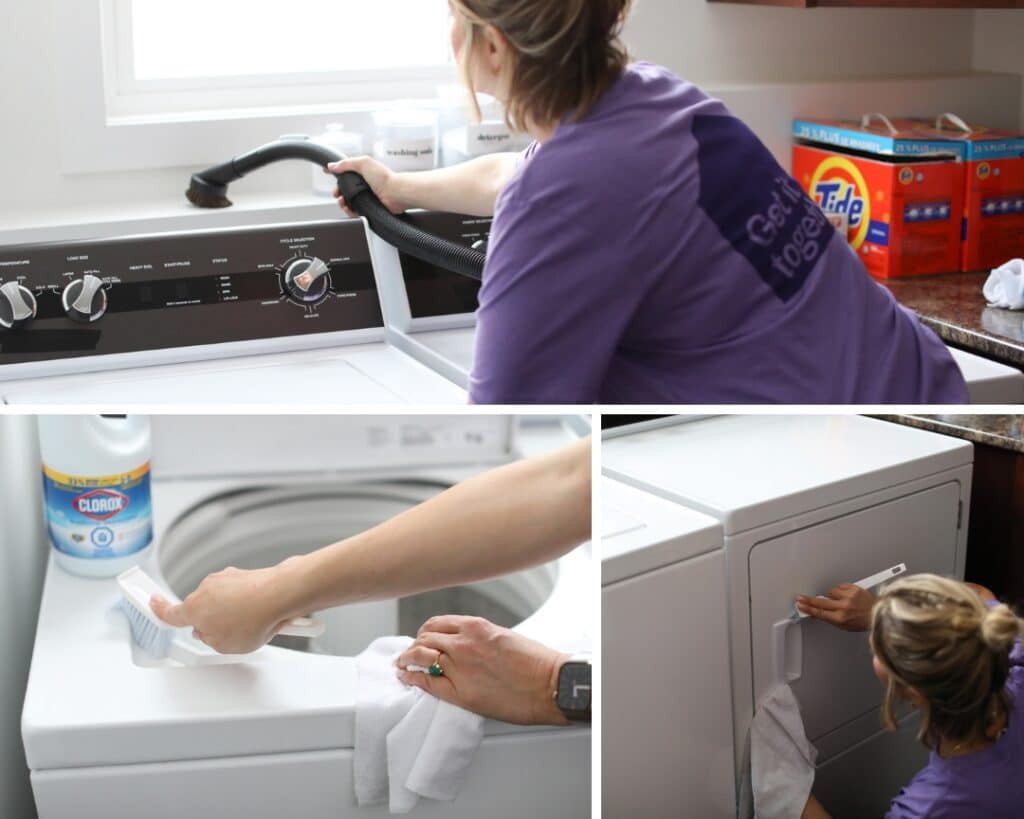
Once everything is out of the room, give it a good House Work style scrub down.
- Vacuum first. Starting up high, vacuum the insides and outsides of your cupboards, the countertop, the floor, and around your machines. This is a good time to pull them out and really get in there. Watch your floors as they can scratch. While you are at it, vacuum out the dryer vents as far as your vacuum can reach. This is a fire hazard, people!
- Clean the machines. You can find washing machine instructions here, and dryer here. Now is as good a time as any to tackle that job.
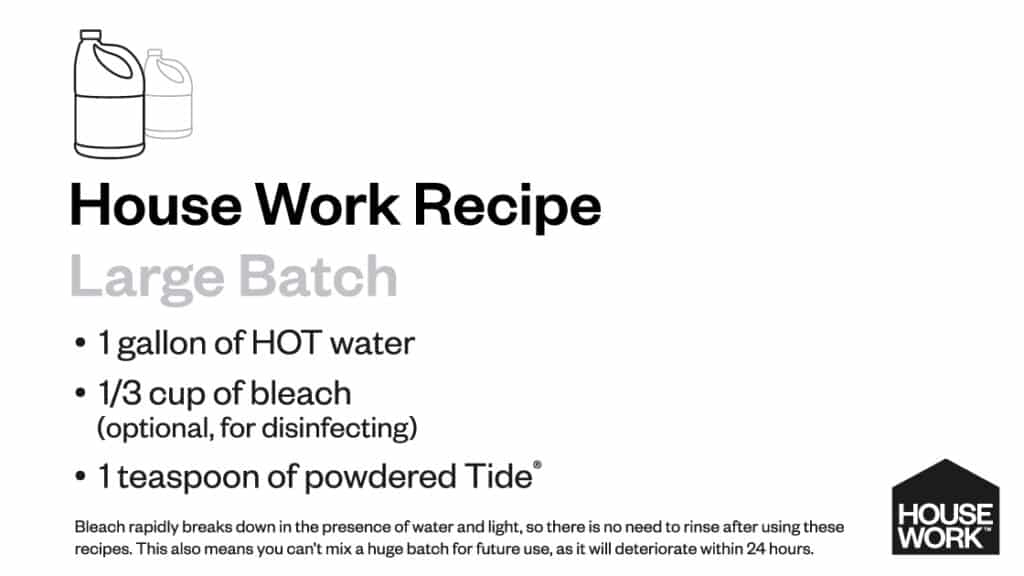
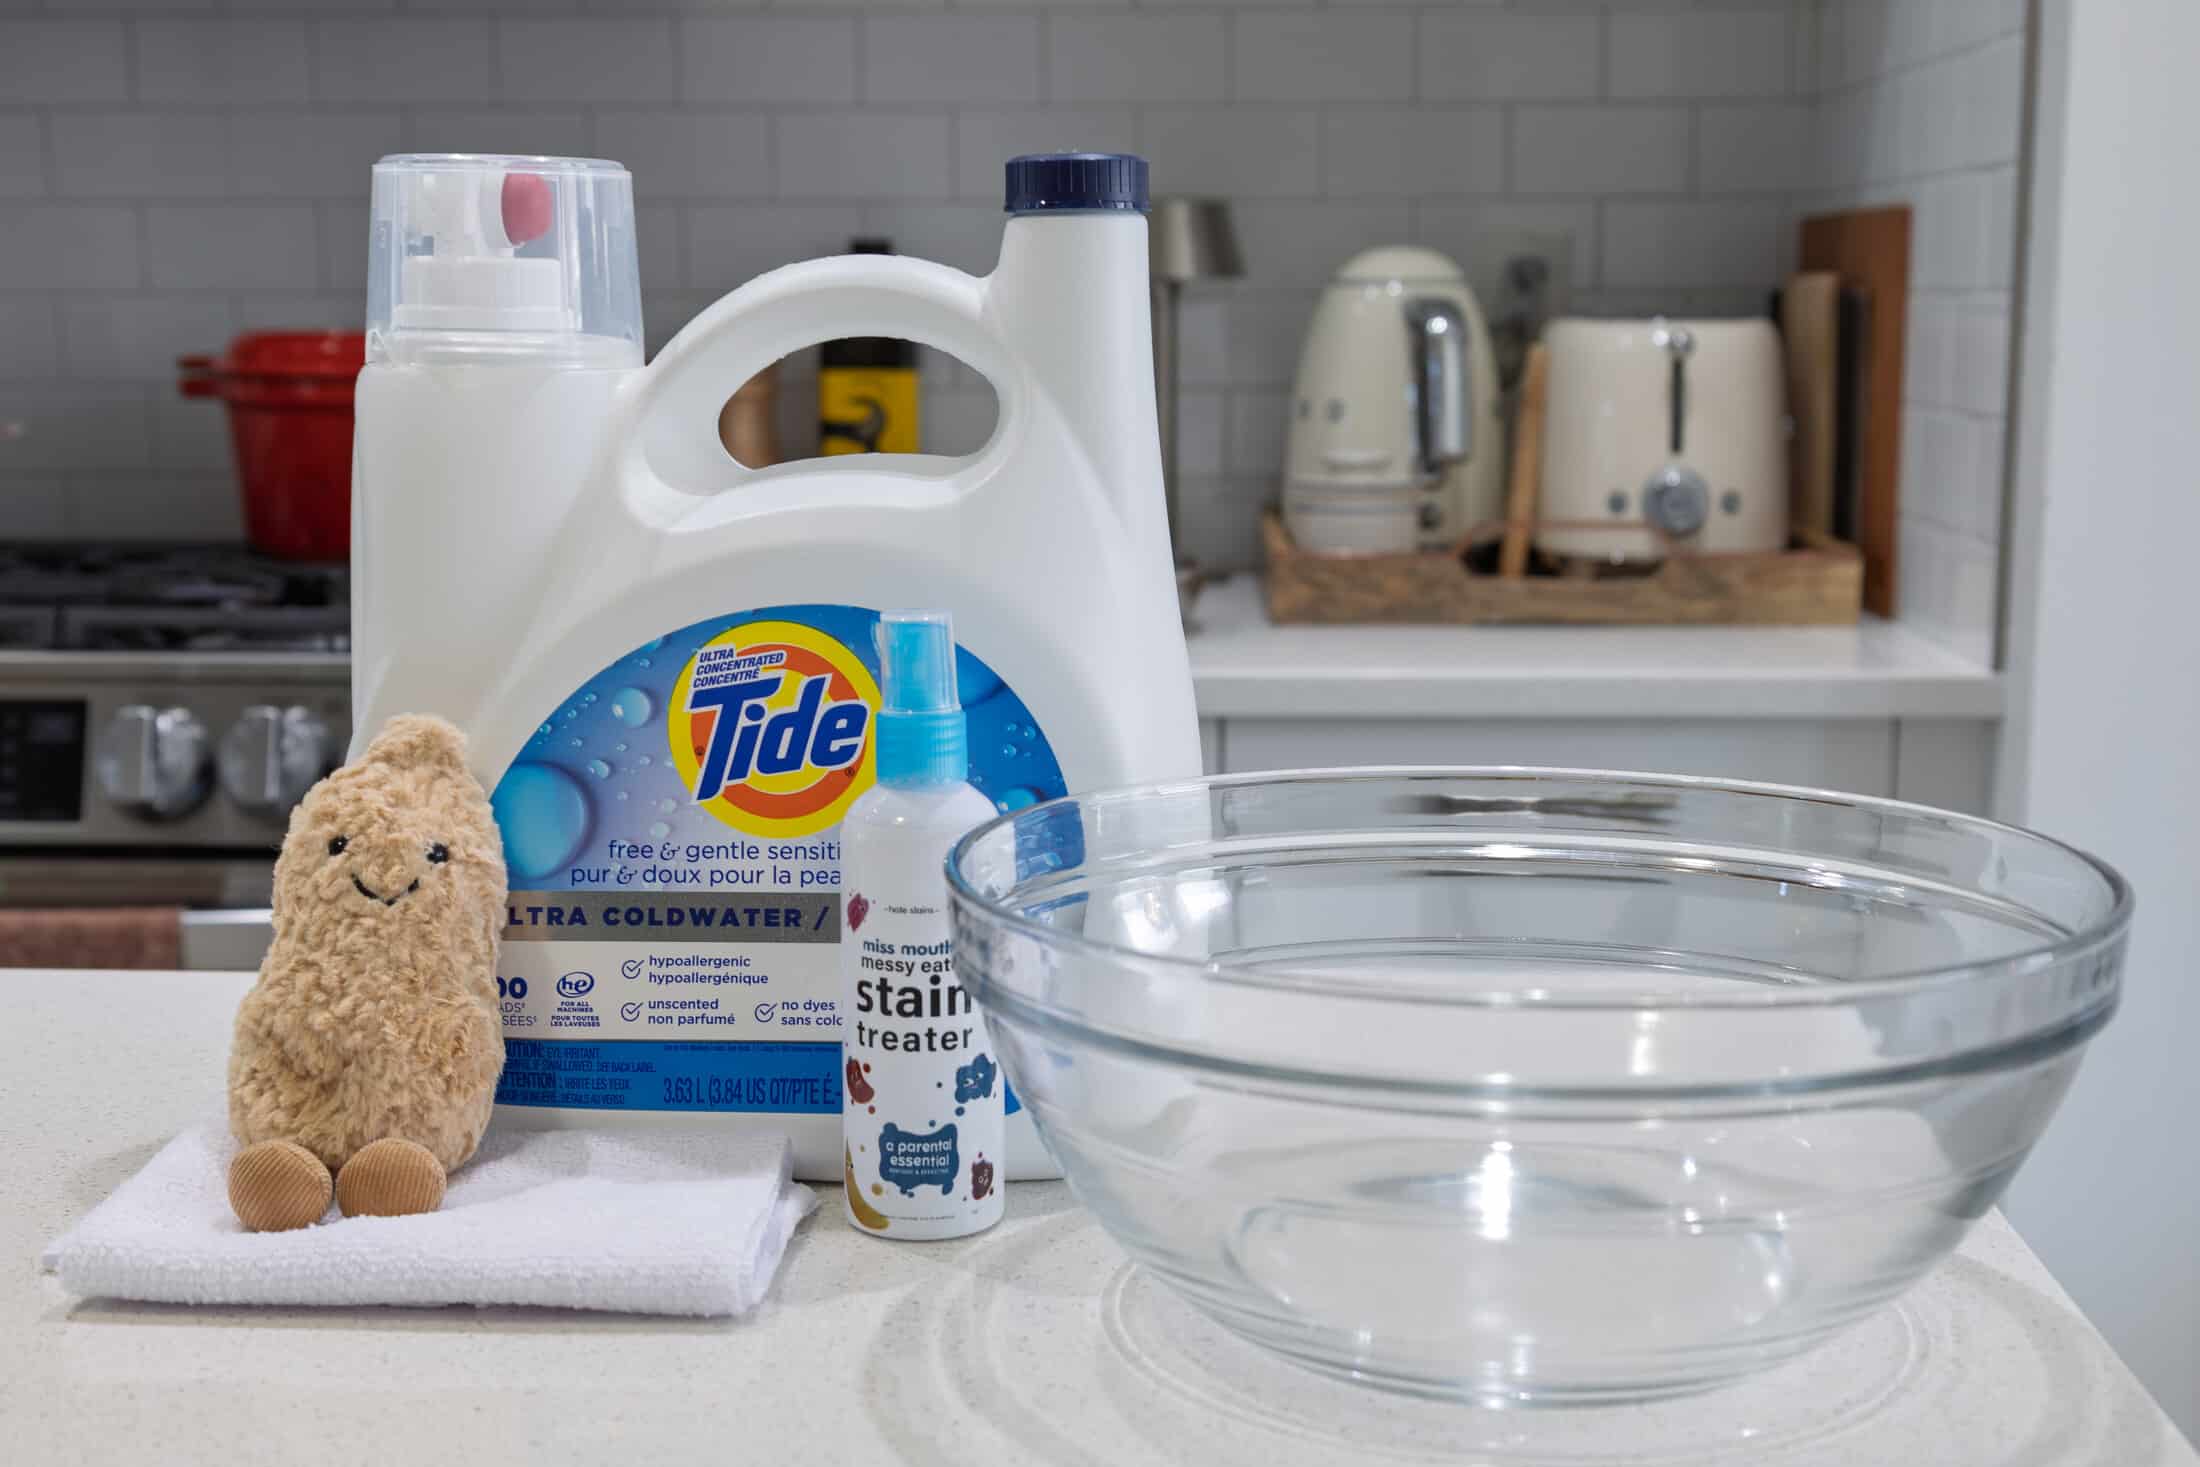
- Wipe down cabinets. Grab a bucket and fill it with a gallon of hot water and a teaspoon of powdered Tide®. Use a microfibre cloth to wipe down the insides and outsides of each and every cupboard. You might need to use some light elbow grease if you come across any laundry detergent spills. (Pro tip: The same mixture can be used to clean your walls and mop your floors, too!)
3. Put it back
It’s time to start loading everything back. Always keep similar items together, commonly used cleaners within easy reach, and less-used items up higher or to the back.
- If you have open shelving, we recommend using some baskets to keep things organized and looking pretty. Baskets can also help keep things grouped together within cupboards, too.
- Use glass canisters and labels to keep items legible, easy to find, and looking spiffy!
Some amazing space saving solutions we’ve found and are loving include:
- Drying racks. They fold flat against the wall and look great too.
- Magnetic lint bin. This is a great solution for tossing your lint when you don’t have room for a larger garbage bin. It attaches to the side of your dryer magnetically!
- Dryer sheet boxes. Not a fan of the standard dryer sheet packaging? They sell pretty boxes to store these sheets in so that you can always have them within reach.
- Laundry hamper. If space allows, get yourself a laundry hamper that will force you to sort your laundry like the grown-up you are (it also keeps dirty clothes from piling up on the laundry room floor or machines).
When you buy through our links, we may earn a small commission.
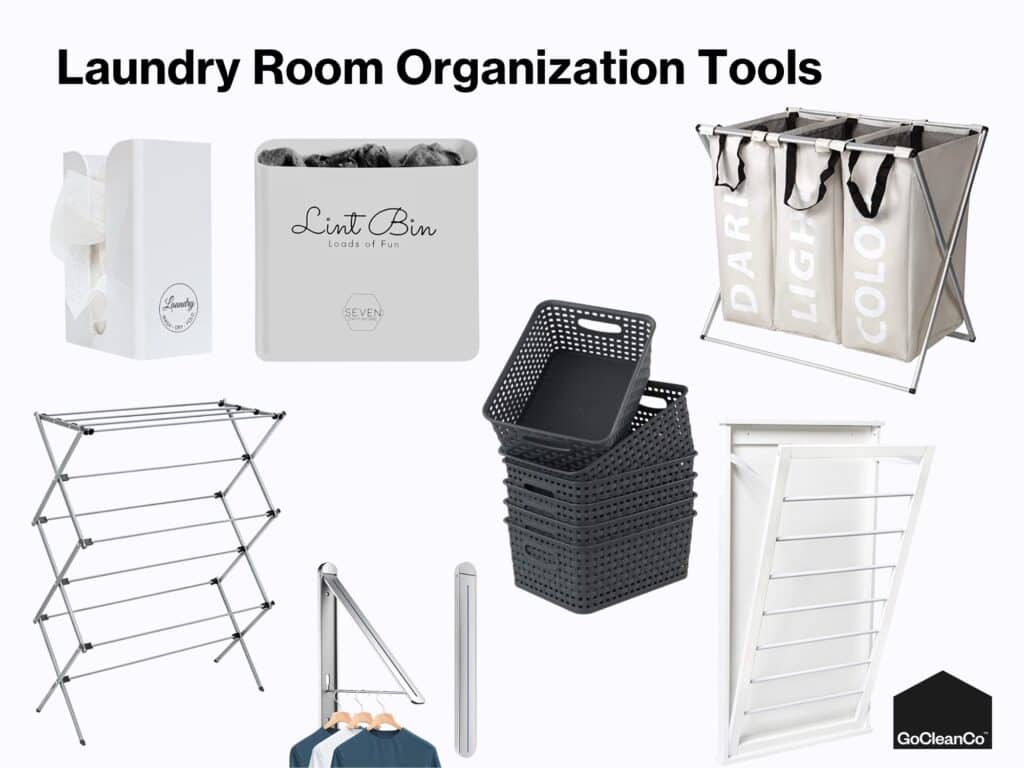
- Retractable aluminum clothes dryer (Canada) (USA)
- 3 section divided laundry hamper (Canada) (USA)
- Collapsible drying rack (Canada) (USA)
- Wall mount vertical drying rack (Canada) (USA)
- Grey plastic storage baskets (Canada) (USA)
- Lint bin (Canada) (USA)
Once everything is put away, do a final vacuum, and then mop your way out of the room.
Now stand back and admire your clean and organized space.
Oh, yeah… and you should probably avoid doing any laundry for a week or so to make sure it stays that way!
For a list of our favorite products, click here.
– Becky @ GoCleanCo

We're big on Instagram.
Follow @GoCleanCo for seriously satisfying videos and top-secret tips. Don’t be shy, come say hi.
gocleanco
595 2,582,340
Sarah McAllister
Collabs: [email protected]
Cleaning expert plus I do some other stuff which is always a wild ride
The FREE Fall Cleaning Challenge Download is here. The provides you with a checklist to follow for every room in your home. You can print it! We even put QR codes for videos for you to watch if you don’t know how to clean something. These challenge resets your home so the in between maintenance cleaning isn’t so difficult to upkeep. Plus you get entered to win PRIZES FOR CLEANING YOUR HOUSE 🧹 🧽 Comment LINK below and I’ll send you a link to the freebie download.
The FREE Fall Cleaning Challenge Download is here. The provides you with a checklist to follow for every room in your home. You can print it! We even put QR codes for videos for you to watch if you don’t know how to clean something. These challenge resets your home so the in between maintenance cleaning isn’t so difficult to upkeep. Plus you get entered to win PRIZES FOR CLEANING YOUR HOUSE 🧹 🧽 Comment LINK below and I’ll send you a link to the freebie download.
THE FALL CLEANING CHALLENGE STARTS NOW. 🍂🧹
Download the FREE Fall Cleaning Challenge from Housework.com and you’re automatically entered to win $5,000 + our favourite cleaning gadgets. 💰
Then follow along as we deep clean the whole house together over the next 4 weeks.
Comment LINK and I’ll send you the free download. 👇
Week 1: Outdoors + Laundry Room. LET’S GO. 💪
THE FALL CLEANING CHALLENGE STARTS NOW. 🍂🧹
Download the FREE Fall Cleaning Challenge from Housework.com and you’re automatically entered to win $5,000 + our favourite cleaning gadgets. 💰
Then follow along as we deep clean the whole house together over the next 4 weeks.
Comment LINK and I’ll send you the free download. 👇
Week 1: Outdoors + Laundry Room. LET’S GO. 💪
My heart is full. Thank you @bissellcan @bissellclean for this amazing experience. I couldn’t even sleep last night I was just so excited about everything I learned. My mom being invited on this trip was a memory of a lifetime. I think she sorta understands what my job is now 😂 AND to you guys: THANK YOU! I only get to do this stuff because you trust me and are here cheering me on.
Happy 150th Birthday Bissell!!!!! @sarahsmomtrudy #hosted
My heart is full. Thank you @bissellcan @bissellclean for this amazing experience. I couldn’t even sleep last night I was just so excited about everything I learned. My mom being invited on this trip was a memory of a lifetime. I think she sorta understands what my job is now 😂 AND to you guys: THANK YOU! I only get to do this stuff because you trust me and are here cheering me on.
Happy 150th Birthday Bissell!!!!! @sarahsmomtrudy #hosted
I hate to tell you this, but your home might smell… 🤫
I hate to tell you this, but your home might smell… 🤫
I have bought this vacuum so many times, it is cheap (and it goes on sale a lot) — it doesn’t have a lot of bells and whistles but it works, especially if you are on a budget or if your vacuum isn’t quite picking up anymore. If you want the link, comment LINK and I’ll send it over.
I have bought this vacuum so many times, it is cheap (and it goes on sale a lot) — it doesn’t have a lot of bells and whistles but it works, especially if you are on a budget or if your vacuum isn’t quite picking up anymore. If you want the link, comment LINK and I’ll send it over.
Fruit flies multiplying faster than you can kill them? 🍎🪰
Here’s how to get rid of them AND stop them from coming back.
Comment LINK and I’ll DM you our full fruit fly guide + the Zevo trap I use.
Fruit flies multiplying faster than you can kill them? 🍎🪰
Here’s how to get rid of them AND stop them from coming back.
Comment LINK and I’ll DM you our full fruit fly guide + the Zevo trap I use.
The before-and-afters don’t lie 🫡 ✨
The before-and-afters don’t lie 🫡 ✨
Today we are talking all about mattress protection, pillows, duvets and bedding. Come watch my @amazonlive today at 9 am MTN/11 am EST plus it’s my birthday so come hang out with me in the comment section 🎂
COMMENT LINK and I’ll send you the link to watch via DM. I am also on the Amazon Live Fast Channel today! To watch the Amazon Live channel, just open Prime Video on your TV and search Amazon Live 📺 You can also watch on fire TV channels and the lifestyle section. #ad
Today we are talking all about mattress protection, pillows, duvets and bedding. Come watch my @amazonlive today at 9 am MTN/11 am EST plus it’s my birthday so come hang out with me in the comment section 🎂
COMMENT LINK and I’ll send you the link to watch via DM. I am also on the Amazon Live Fast Channel today! To watch the Amazon Live channel, just open Prime Video on your TV and search Amazon Live 📺 You can also watch on fire TV channels and the lifestyle section. #ad