


KitchenAid Mixer Cleaning
Cleaning your KitchenAid mixer is essential to keep it working correctly.
Here’s a step-by-step guide to keeping your KitchenAid mixer squeaky clean:
Step 1: Dishwasher-Safe Components
Stainless steel or coated tools like the dough hook, paddle, and pouring shield can safely be washed in the dishwasher’s top rack. Depending on your preference and available space, you can place the mixing bowl on either the top or bottom rack of the dishwasher.
If you don’t have a dishwasher, the coated tools and mixing bowl can easily be washed by hand in warm, soapy water.
Step 2: Hand Wash
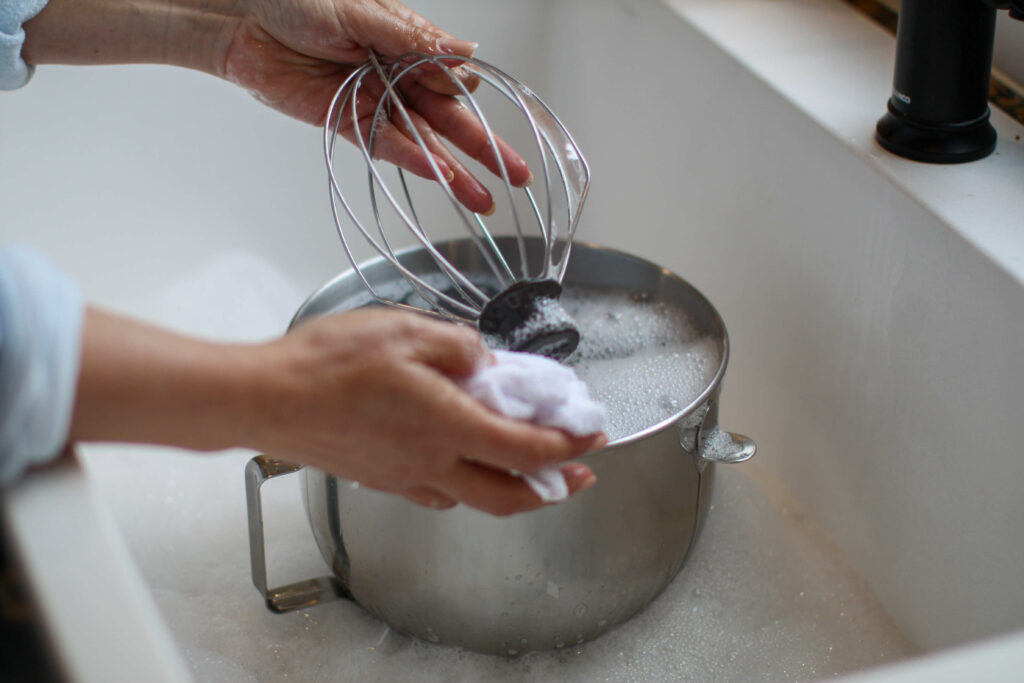
Wire whips and uncoated tools should be washed by hand to prevent damage like bending, snapping, and rust. Use a soft cloth, sponge, or scrub brush in hot, soapy water. We recommend blue Dawn® dish soap. Scrub gently to remove any residue.
Note: Don’t forget the shaft hole on the tools.
Step 3: Dry
After washing, dry everything with a clean dish towel to prevent water spots and potential rusting of uncoated attachments. You can also lay them out or use a dish rack to dry them.
Step 4: Mixer Body
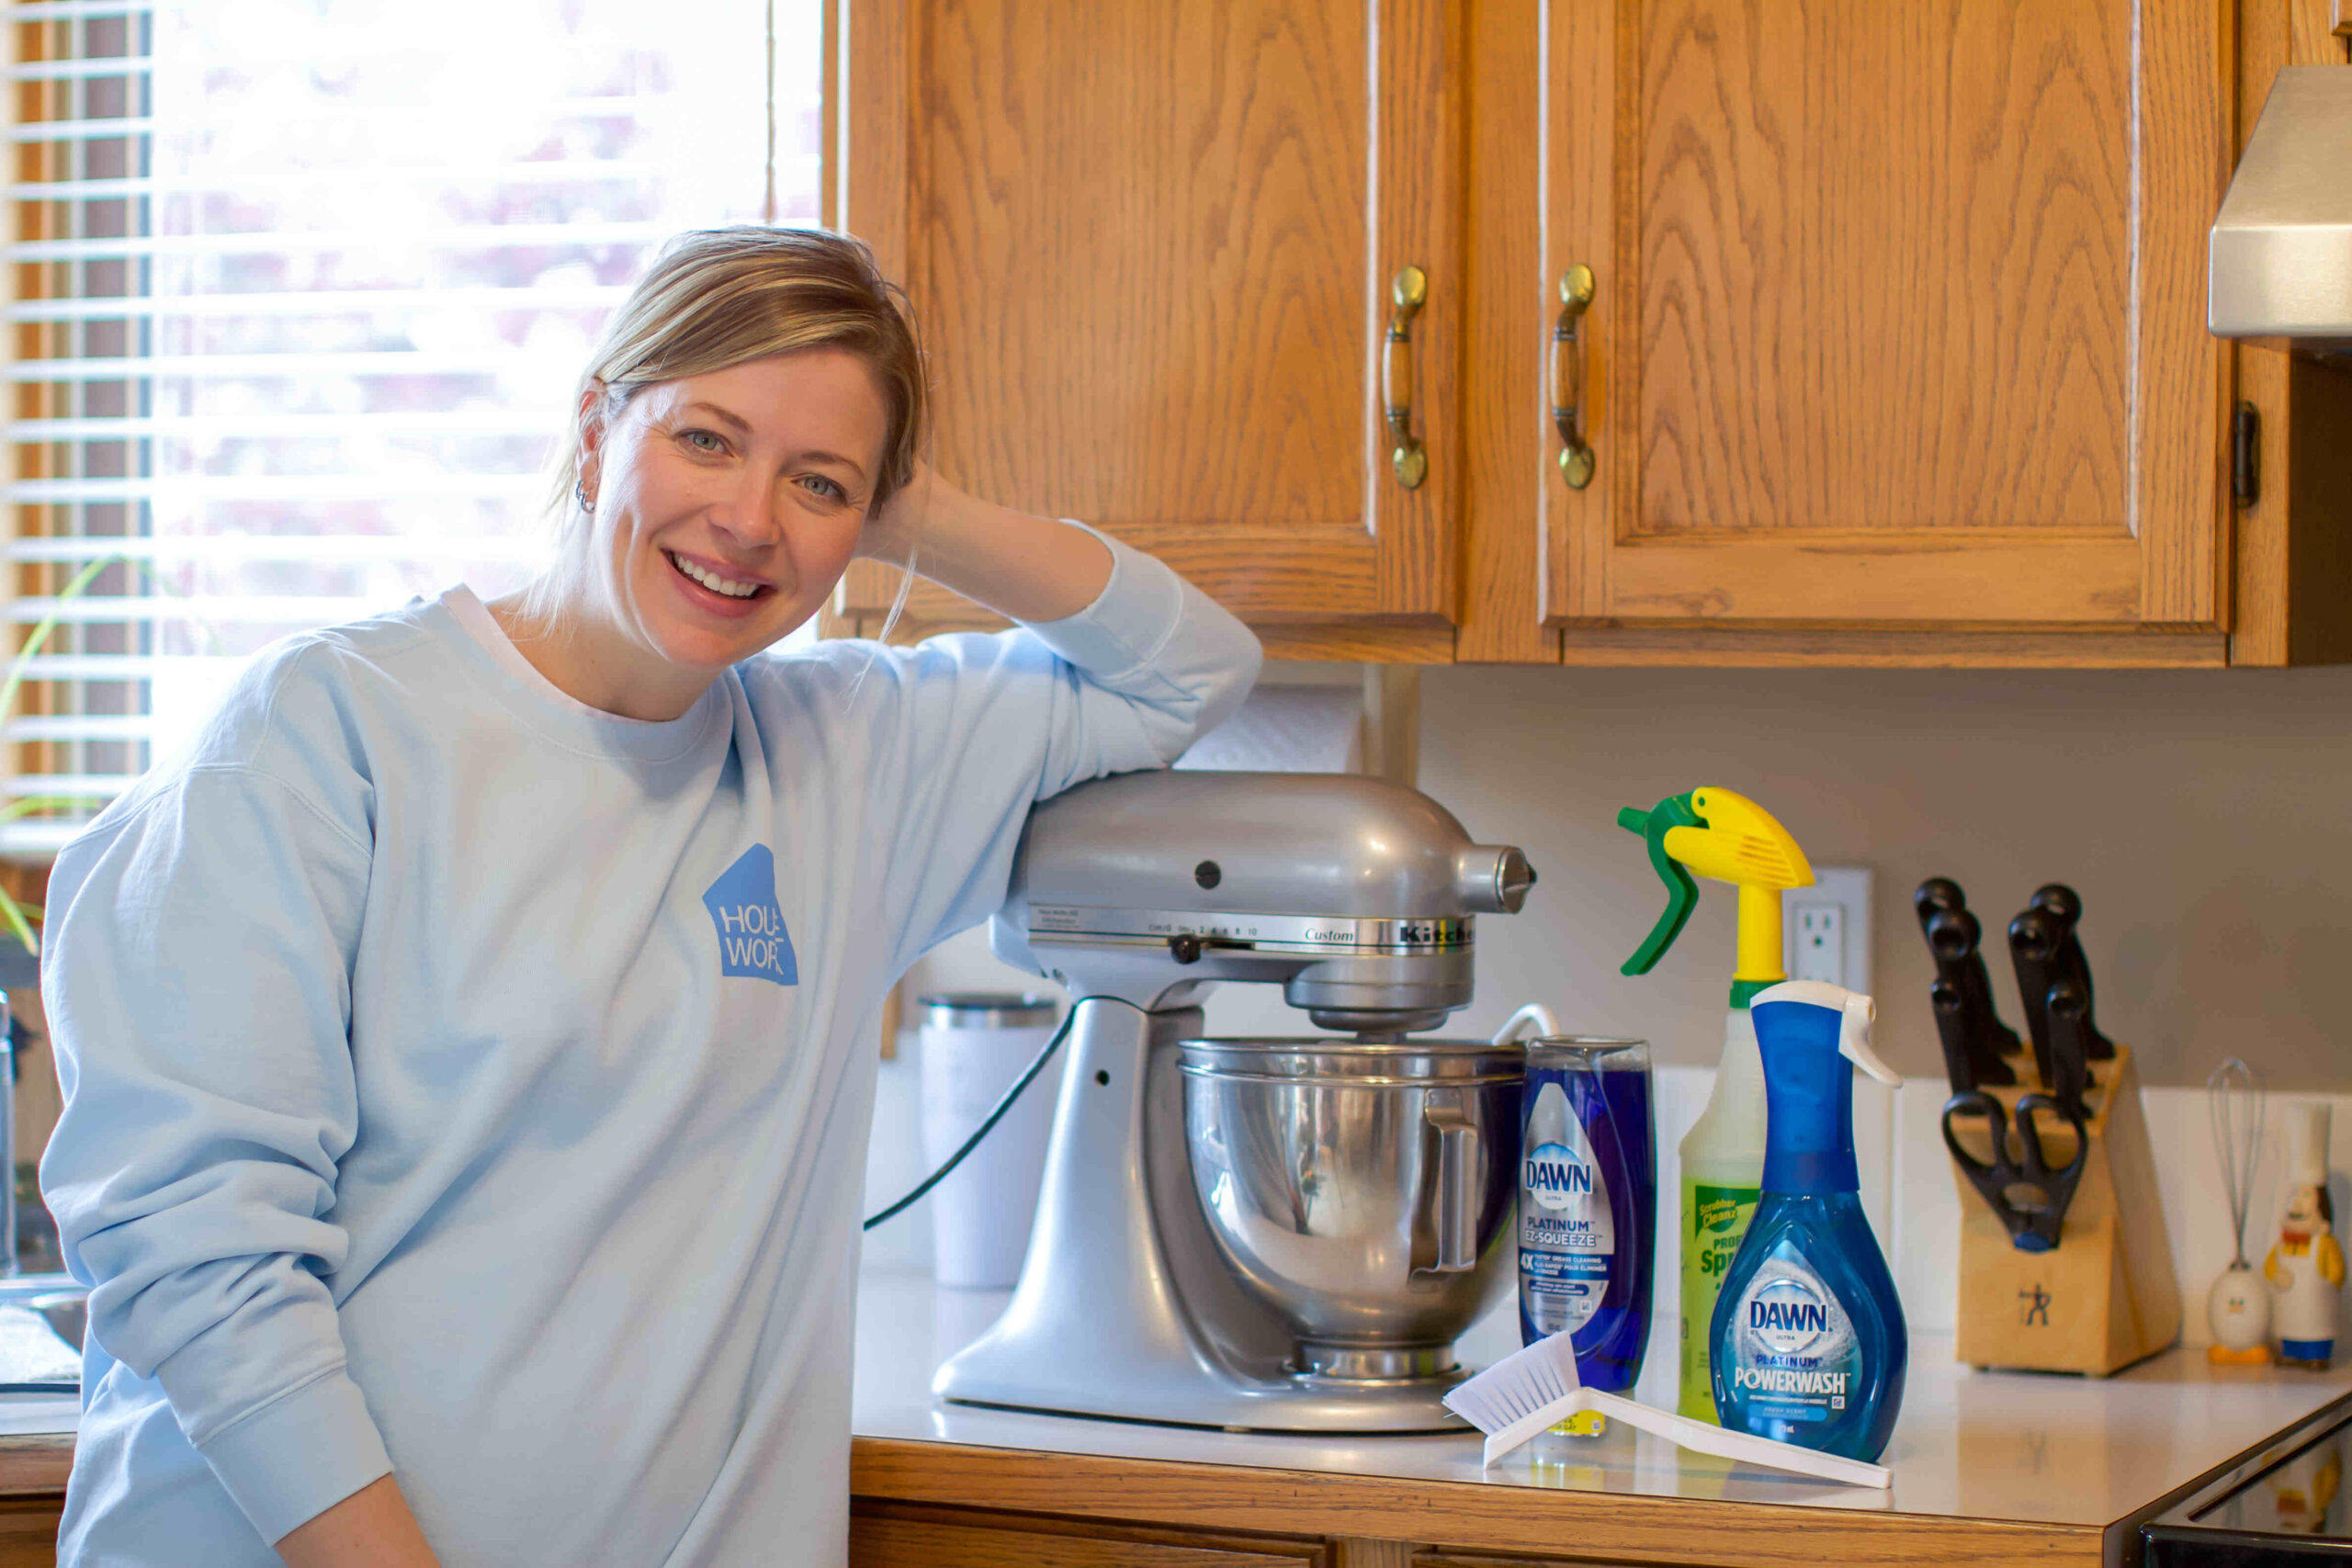
Start by unplugging your mixer. Use a damp cloth with a gentle dish soap like blue Dawn® or Dawn® Powerwash to wipe down the exterior of your mixer.
Note: Wiping spills when they happen will make cleaning easier before they harden and settle into the cracks.
Pay special attention to:
- Underneath the mixer head, where splatters are common.
- The mixer shaft/attachment hub.
- The control knobs and vents. Try not to get excess water into the motor housing.
- The hinge area of the tilt-head model. Lift the head to get inside the hinge.
- The mechanism of the bowl-lift model. Lift the mechanism up and down to get in all the crevices.
- The cord.

Step 5: Final Touches
Make sure all parts are dry before reassembling your mixer. This helps prevent rust or corrosion on your mixer.
Note: If you keep your mixer on your counter, be prepared to clean it more often. It will gather dust and grease settling in the kitchen.
Keeping your KitchenAid mixer clean will help it to last longer and keep your yummy creations safe and hygienic. Following these simple steps, you can continue enjoying your mixer for delicious meals and treats for years to come. Happy mixing!
For more help with your small appliances, see here.
Sara B @ GoCleanCo


We're big on Instagram.
Follow @GoCleanCo for seriously satisfying videos and top-secret tips. Don’t be shy, come say hi.
gocleanco
593 2,582,853
Sarah McAllister
Collabs: [email protected]
Cleaning expert plus I do some other stuff which is always a wild ride
My heart is full. Thank you @bissellcan @bissellclean for this amazing experience. I couldn’t even sleep last night I was just so excited about everything I learned. My mom being invited on this trip was a memory of a lifetime. I think she sorta understands what my job is now 😂 AND to you guys: THANK YOU! I only get to do this stuff because you trust me and are here cheering me on.
Happy 150th Birthday Bissell!!!!! @sarahsmomtrudy #hosted
My heart is full. Thank you @bissellcan @bissellclean for this amazing experience. I couldn’t even sleep last night I was just so excited about everything I learned. My mom being invited on this trip was a memory of a lifetime. I think she sorta understands what my job is now 😂 AND to you guys: THANK YOU! I only get to do this stuff because you trust me and are here cheering me on.
Happy 150th Birthday Bissell!!!!! @sarahsmomtrudy #hosted
I hate to tell you this, but your home might smell… 🤫
I hate to tell you this, but your home might smell… 🤫
I have bought this vacuum so many times, it is cheap (and it goes on sale a lot) — it doesn’t have a lot of bells and whistles but it works, especially if you are on a budget or if your vacuum isn’t quite picking up anymore. If you want the link, comment LINK and I’ll send it over.
I have bought this vacuum so many times, it is cheap (and it goes on sale a lot) — it doesn’t have a lot of bells and whistles but it works, especially if you are on a budget or if your vacuum isn’t quite picking up anymore. If you want the link, comment LINK and I’ll send it over.
Fruit flies multiplying faster than you can kill them? 🍎🪰
Here’s how to get rid of them AND stop them from coming back.
Comment LINK and I’ll DM you our full fruit fly guide + the Zevo trap I use.
Fruit flies multiplying faster than you can kill them? 🍎🪰
Here’s how to get rid of them AND stop them from coming back.
Comment LINK and I’ll DM you our full fruit fly guide + the Zevo trap I use.
The before-and-afters don’t lie 🫡 ✨
The before-and-afters don’t lie 🫡 ✨
Today we are talking all about mattress protection, pillows, duvets and bedding. Come watch my @amazonlive today at 9 am MTN/11 am EST plus it’s my birthday so come hang out with me in the comment section 🎂
COMMENT LINK and I’ll send you the link to watch via DM. I am also on the Amazon Live Fast Channel today! To watch the Amazon Live channel, just open Prime Video on your TV and search Amazon Live 📺 You can also watch on fire TV channels and the lifestyle section. #ad
Today we are talking all about mattress protection, pillows, duvets and bedding. Come watch my @amazonlive today at 9 am MTN/11 am EST plus it’s my birthday so come hang out with me in the comment section 🎂
COMMENT LINK and I’ll send you the link to watch via DM. I am also on the Amazon Live Fast Channel today! To watch the Amazon Live channel, just open Prime Video on your TV and search Amazon Live 📺 You can also watch on fire TV channels and the lifestyle section. #ad
How to clean sneakers for back to school 👟
How to clean sneakers for back to school 👟
How to clean backpacks; New year, same backpack. 🎒
Step 1: Empty all pockets
Step 2: Spot-treat stains with Dawn Powerwash
Step 3: Gently scrub the backpack with a brush
Step 4: Rinse
Step 5: Wash the backpack in the washing machine with towels or place it inside a laundry bag
Step 6: Follow the drying instructions on your backpack’s tag
How to clean backpacks; New year, same backpack. 🎒
Step 1: Empty all pockets
Step 2: Spot-treat stains with Dawn Powerwash
Step 3: Gently scrub the backpack with a brush
Step 4: Rinse
Step 5: Wash the backpack in the washing machine with towels or place it inside a laundry bag
Step 6: Follow the drying instructions on your backpack’s tag