


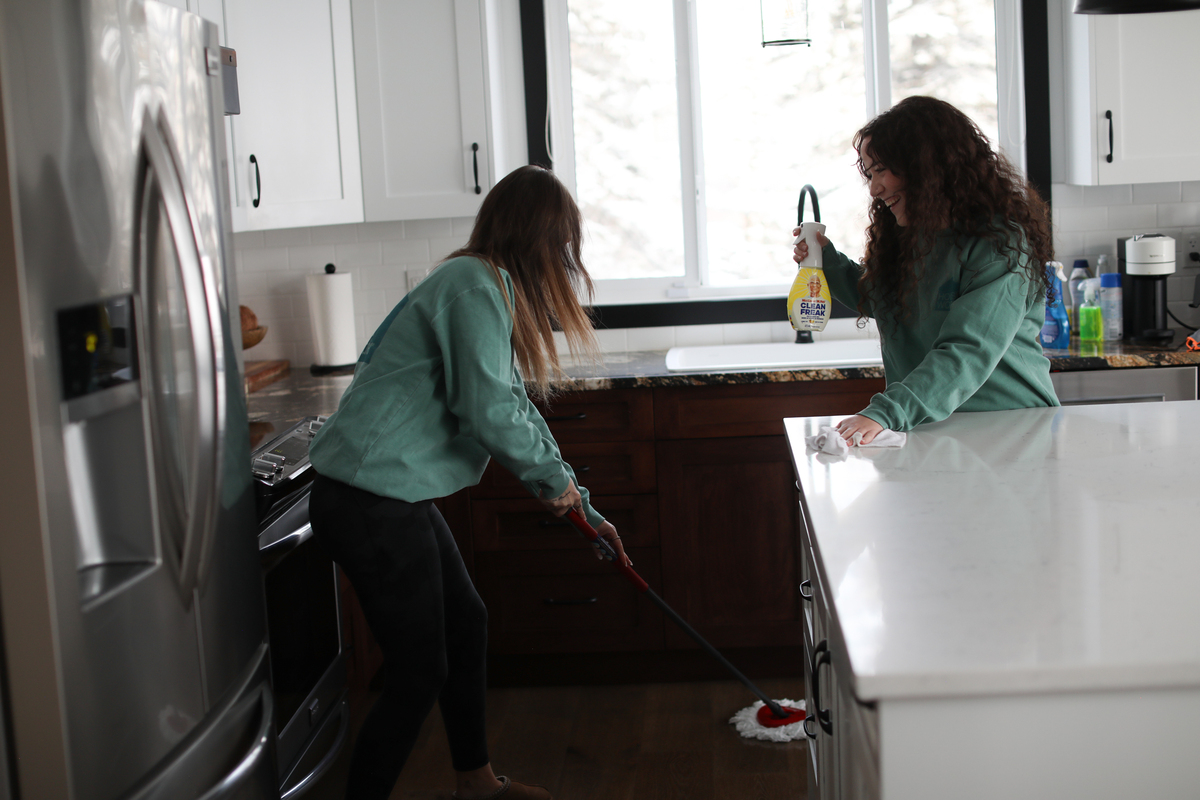
Kitchen Deep Clean
Not sure where to begin? Don’t panic or NOT start because you are overwhelmed. If it takes you a couple of days to do it all, so what?! You are doing this deep clean for YOU. Take some notes or bookmark this article, as you can’t possibly absorb all this information and instantly be a professional.
Now make yourself some coffee, turn up the music, and let’s GO!
When you buy through our links, we may earn a small commission.
Start by vacuuming (Canada) (USA) the entire section that you are working in. You know the drill by now, right? Left to right, top to bottom. Sectioning your kitchen this way will make the job 100x easier! Get up high on top of appliances and light fixtures and down low in all the drawers and vents. Yes, you need to vacuum the counters, inside the microwave, fridge and oven, when you get to them. We don’t do anything half assed around here and neither should you!
Light Fixtures:
Light fixtures and bulbs are delicate as they hang from ceilings. Use caution and take your time. We have a post here that will walk you through the process.
Pro Tip: The extender Swiffer® is our go-to for dusting lighting (Canada) (USA)

Get the big stuff out of the way. Each appliance is a big job in itself. At House Work we know what a big job these are and we do them EVERY. SINGLE. DAY. It is essential to take care of big messes and spills when they happen, so six months doesn’t fly by and shit is wrecked.
Oven:
Remove the racks from inside the oven and soak them in a Rubbermaid® bin filled with four(4) dishwasher tabs and HOT water. Please read and follow the manufacturer’s instructions and run the self-clean feature. Need more guidance? We thought you might: Rome wasn’t built in a day. See here for full oven clean instructions.
Fridge:
Your Fridge can be fun to tackle, especially right before a big grocery haul! Do NOT overcomplicate it. Start fresh and take everything out. We have a fridge-specific blog post for you. Check it out here.
Microwave:
Pour 1 cup of water with 1-2 tbsp of vinegar into a bowl. Microwave for 5 minutes and let the steam work its magic (be cautious when removing the hot bowl). Wipe out the interior thoroughly. Clean the exterior with our hot water and powdered Tide® mixture or yellow Mr. Clean®. Shine it up afterwards with Stainless Steel polish or Windex®.
Dishwasher:
Do you think that your dirty dishwasher is cleaning your dishes? NOPE! Start by taking out your filter and give it a good spray down (not all filters come out, so google your make and model). It is VERY important that you only use bleach and water on the interior of any dishwasher. Gently use a scrub brush to get the gunk off hinges and the edge where they meet your cabinets. A damp cloth is all you need to wipe the control panel down. Pour ½ cup of bleach in the bottom of the dishwasher and run the longest, hottest cycle it has. Please do not have dishes in when you run this cycle. We use Weiman® Stainless Steel Spray and a soft cloth to polish and condition the exterior. For dishwashers that aren’t stainless steel, you can make them shine with Windex. See here for our detailed article.
Pro Tip: Using any cleaners instead of bleach and water will cause a FOAM party!

Stove Top:
Stove types are solely consumer preference, but each has a specific way that they need to be cleaned. A great place to start is with the hood range cover. It will need a degreaser such as Mr. Clean®. Spray with either Mr. Clean® OR Dawn® Powerwash (but not both) and scrub with a scrub brush and rinse. Make sure they are completely dry before replacing them. The exterior and underside of the hood fan can be cleaned with Mr.Clean®.
- Gas Stoves can be daunting at first glance. Start by removing the grills and burner covers. Soak them in a Rubbermaid® bin filled with four (4) dishwasher tabs and HOT water (Your sink will be too small for this and you will scratch the s&*t out of the tub). Scrub aluminum burners with Bar Keepers Friend® or Dawn® Powerwash Spray. Spray the rest of the stove with Dawn® Powerwash spray or Easy-Off®. Let either sit for 30 minutes for burnt-on food. Scrub, rinse and repeat if necessary. Watch here.
- Glass stoves are generally straightforward. You will want to spray Easy-Off® or Dawn® Powerwash Spray onto baked-on food. Let it sit for 30 minutes and gently scrub with an SOS pad. Wipe clean with a warm, damp microfiber cloth and polish with Windex®. Watch here.
- Electric stoves need the rings and drip trays removed. Wipe off burnt debris from the coils. Soak the drip trays in a Rubbermaid® bin filled with 4 dishwasher tabs and HOT water. Spray the stovetop with Easy-Off® or Dawn® Powerwash Spray and let sit for 30 minutes. Wipe clean with a warm, damp microfiber cloth and polish with Windex®., being cautious to not entirely soak the elements.
Pro Tip: Always be careful with Easy-Off®. It will damage your aluminum burners, countertops and flooring. Lay down garbage bags to protect the area.
Cupboards:
Check out this article to get you going on your cupboards but yes, you start by vacuuming inside and on top. When cleaning cupboards, remember to include the walls, baseboards, backsplash, and toe kicks.
Pro Tip: Use Mr. Clean® to kick the grease to the curb.
Pantry:
Take everything out. Vacuum, then wipe down all the shelves, walls, and floor using water, bleach, and tide.Purge what you don’t use and set up a good organization system. Be it clear bins or baskets; whatever you choose will make putting groceries away a breeze. We have lots of fantastic tips that you can check out here.
Pro Tip: Always check expiry dates and toss!
Dining Area:
Use hot water and powdered Tide® to wipe down the tabletop, chairs, stools and their legs. If things are extra sticky, use blue Dawn® dish soap. Suds it up and wipe off with a paper towel. We learnt from the Scientist herself at Dawn®.
Pro Tip: Treat yourself and your clean table to a bouquet of fresh flowers.
Counter Tops:
Knowing your countertop material is essential. An assumption can cause damage and an expensive refinishing bill.
- Laminate, sealed Granite: Water, Bleach and Tide®, polish with a carbon cloth.
- Marble and unsealed Granite: Dish Soap and Water, polish with a carbon cloth.
- Butcher Block: 1 Gallon of water with ½ cup bleach (test it first in an inconspicuous spot), condition regularly with butcher block oil.

Sink:
Make sure you are completely done with the tap before starting this task. Nothing is more frustrating than dropping water on a freshly polished sink.
- Silgranit sinks need dish soap and vinegar. Spray on and let sit for an hour. Scrub the sides well. Make sure to get the faucet and all around the taps. Windex will polish these up beautifully. Lastly, use a food-grade oil and paper towel to seal the sink and make it shiny and brand new again!
- Stainless Steel sinks can be rinsed with dish soap and hot water. Bar Keepers Friend® is perfect for this type of sink! Coat the entire sink and scrub well. Give it another good rinse and dry it out with a cloth. After it has been dried, buff again with a paper towel and Bar Keepers Friend®. Lastly, use Weiman® Stainless Steel Spray for a final buff.
- Porcelain Farmhouse Sinks love Bar Keepers Friend®! Coat the sink, scrub and rinse off well. Use Windex® to polish.
- Faucet: If you have hard water deposits on your faucet or around the base, these will need to soak in straight vinegar. See this article on hard water deposits if you need help. Follow up with a polish using Windex® and a polish cloth.
- Under Sink: Take everything out, wipe it all down with water, bleach and Tide®. See this article if you need tips on organizing the area.
Pro Tip: Always include the drains and garburators in these steps! These get stained and nasty too.
Garbage Can:
There’s a smell in the kitchen, but you have no idea where it is coming from. The lid and hinges hide bacteria, and using a garbage bag does not protect from lingering odors. You need bleach for this job! Get after it using our water, bleach and tide recipe and wipe the inside, outside, and in all the nooks and crannies.. Follow these same instructions for the compost bin.

Floors:
Mopping is done at the end of your kitchen clean. Dump your mop water down the toilet, do not even think about dumping it down your clean sink. If you need more help with your floors, check these articles out: Perfectly Mopped Floors & Cleaning Floors.
For a list of our favorite products, click here.
– Katie W @GoCleanCo


We're big on Instagram.
Follow @GoCleanCo for seriously satisfying videos and top-secret tips. Don’t be shy, come say hi.
gocleanco
576 2,580,972
Sarah McAllister
Collabs: [email protected]
Cleaning expert plus I do some other stuff which is always a wild ride
Come find my custom DIRTY SODA on the Secret Influencer Menu at the @covet.sips.sweets at the Calgary Stampede from July 3–12.
Dirty Bastard by @gocleanco
• Coke Zero, extra ice
• A splash of fresh raspberry purée
• A splash of peach purée
• Two fresh lime wedges
• Finished with a drizzle of coconut cream
It’s sweet, tart, creamy, fizzy — tastes just like summer.
If you’re headed to Stampede, order my Dirty Soda, you dirty bastards. 🤠🥤
#CalgaryStampede #DirtySoda #Stampede2026
Come find my custom DIRTY SODA on the Secret Influencer Menu at the @covet.sips.sweets at the Calgary Stampede from July 3–12.
Dirty Bastard by @gocleanco
• Coke Zero, extra ice
• A splash of fresh raspberry purée
• A splash of peach purée
• Two fresh lime wedges
• Finished with a drizzle of coconut cream
It’s sweet, tart, creamy, fizzy — tastes just like summer.
If you’re headed to Stampede, order my Dirty Soda, you dirty bastards. 🤠🥤
#CalgaryStampede #DirtySoda #Stampede2026 ...
Screen time said I averaged 25 hours a day….wut
Screen time said I averaged 25 hours a day….wut ...
Its tiiiiiiiiiiiiiiiiime!!!!!!!!!!!!!!
*something glitched in the workshop had to repost —Santa Sarah 🎅🏻
Its tiiiiiiiiiiiiiiiiime!!!!!!!!!!!!!!
*something glitched in the workshop had to repost —Santa Sarah 🎅🏻 ...
Come watch my @amazonlive today at 11 am MTN/1 PM EST as we show off the best deals for PRIME DAYS — my elves are here helping me 😉
COMMENT LINK and I’ll send you the link to watch.
I am also on the Amazon Live Fast Channel today!
To watch the Amazon Live channel, just open Prime Video on your TV and search Amazon Live…
You can also watch on fire TV channels and the lifestyle section…
And now Amazon live is available on Samsung TV Plus!!! Find us in the home and food category or search Amazon Live on your Samsung Smart TV #ad
Come watch my @amazonlive today at 11 am MTN/1 PM EST as we show off the best deals for PRIME DAYS — my elves are here helping me 😉
COMMENT LINK and I’ll send you the link to watch.
I am also on the Amazon Live Fast Channel today!
To watch the Amazon Live channel, just open Prime Video on your TV and search Amazon Live…
You can also watch on fire TV channels and the lifestyle section…
And now Amazon live is available on Samsung TV Plus!!! Find us in the home and food category or search Amazon Live on your Samsung Smart TV #ad ...
We have went through the Prime Day Deals with a fine tooth comb. 😮💨 Lots of my top rated and reviewed products are on sale for Prime Days June 23-26 on @amazonca
Comment LINK below and we will send you the round up of all the best deals 👌🏻
We have went through the Prime Day Deals with a fine tooth comb. 😮💨 Lots of my top rated and reviewed products are on sale for Prime Days June 23-26 on @amazonca
Comment LINK below and we will send you the round up of all the best deals 👌🏻 ...
I stuffed a Hulken Bag for you.
Comment below to win it. 🫡
If you want a link to anything in here, comment: LINK
*this give away is not affiliated with Meta
I stuffed a Hulken Bag for you.
Comment below to win it. 🫡
If you want a link to anything in here, comment: LINK
*this give away is not affiliated with Meta ...
Corners of my home made cozy from @amazonca
Lots of these products are on sale for Prime Days June 23-26!
Comment LINK below and we will send you the round up! #amazoncanada #amazonhomefinds #primedaydeals
Corners of my home made cozy from @amazonca
Lots of these products are on sale for Prime Days June 23-26!
Comment LINK below and we will send you the round up! #amazoncanada #amazonhomefinds #primedaydeals ...
What’s in my purse, but really it’s my caddy.
Comment LINK and I’ll send you a list of everything I use.
What’s in my purse, but really it’s my caddy.
Comment LINK and I’ll send you a list of everything I use. ...